

LATEST RECIPES


LET'S GET COOKING!
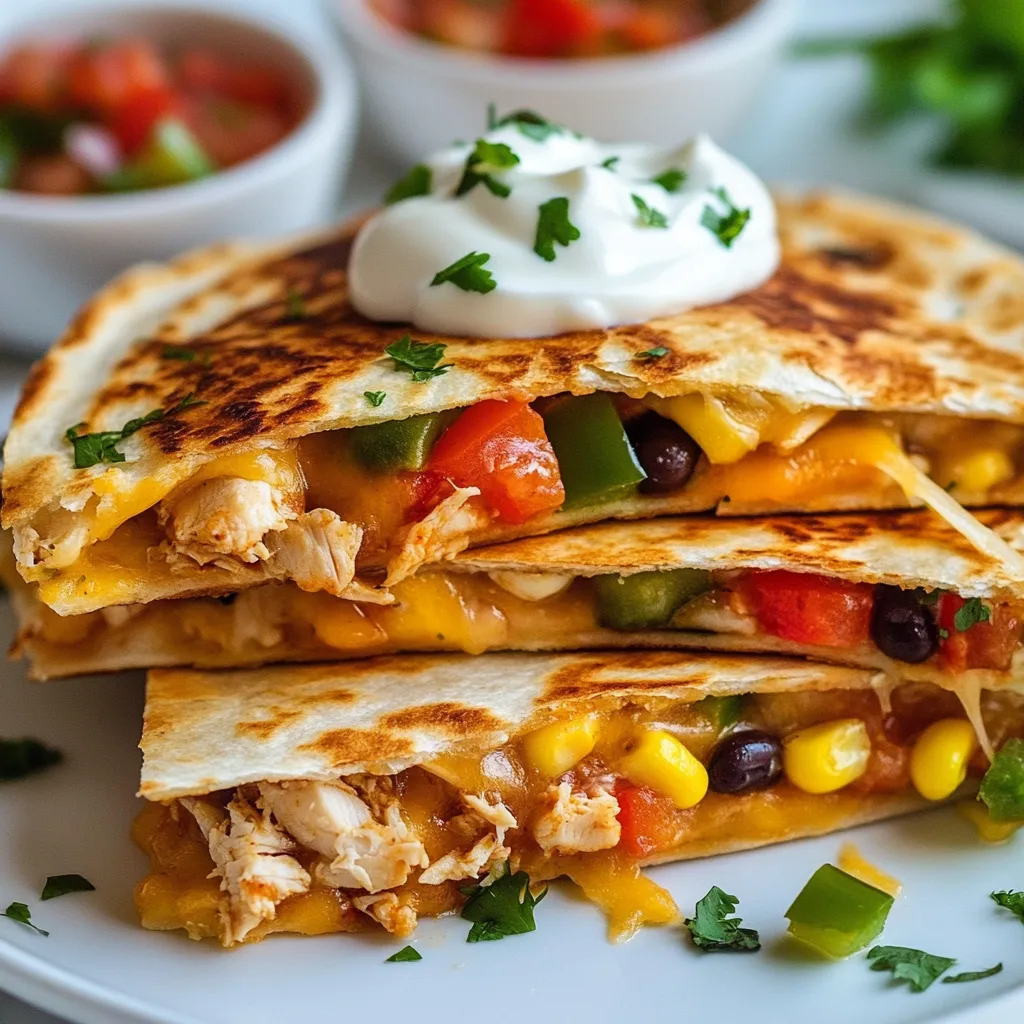
Chicken Quesadillas Simple and Flavorful Recipe
If you’re craving a quick, tasty meal, look no further than my simple chicken quesadilla recipe. Packed with shredded chicken, colorful peppers, and melted cheese,...
Read Full Recipe →