
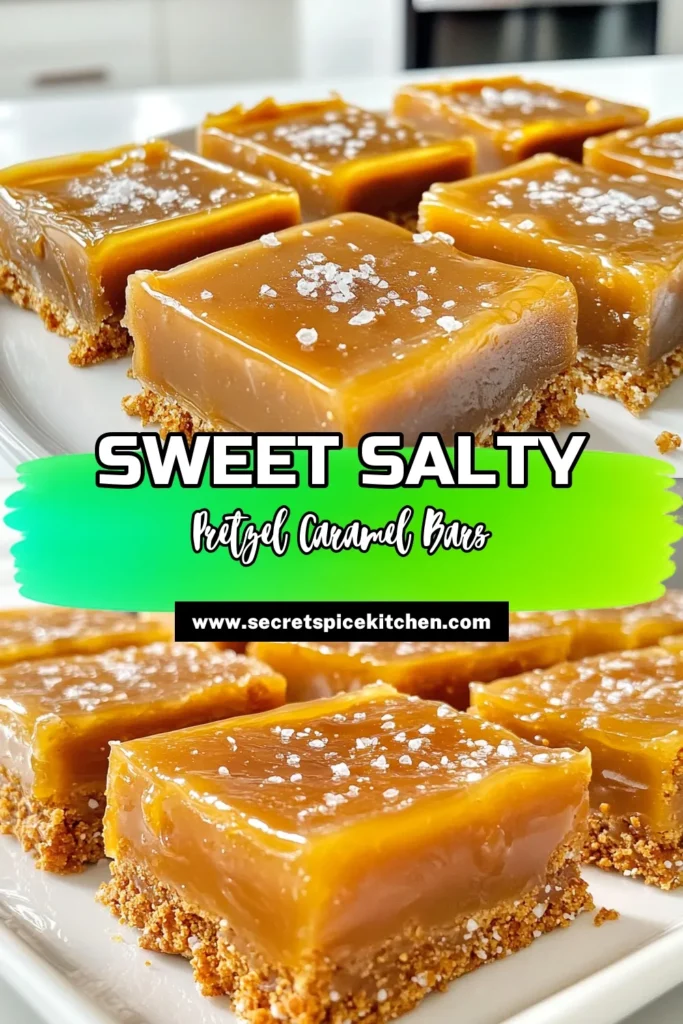
Are you ready to whip up a dessert that’s both easy and delicious? My No Bake Salted Caramel Pretzel Bars combine salty and sweet for a tasty treat. With no oven required, you can prepare these bars in no time. Perfect for parties or just for fun, this recipe includes simple ingredients you might already have. Let’s dive into this easy recipe that will impress your friends and family!
Ingredients
List of Ingredients
– 2 cups crushed pretzels
– 1 cup graham cracker crumbs
– ½ cup unsweetened cocoa powder
– ½ cup unsalted butter, melted
– 1 cup brown sugar, packed
– 1 cup sweetened condensed milk
– 1 cup caramel sauce
– ½ teaspoon sea salt
– ½ cup chocolate chips (optional)
Optional Ingredients
– Other toppings like nuts or extra sea salt
– You can use homemade or store-bought caramel sauce
Measurement Tips
Accurate measurements are key for great results. Use dry measuring cups for solid items like pretzels and graham crackers. A liquid measuring cup works best for liquids like melted butter and sweetened condensed milk. A kitchen scale is handy for precise measurements, especially with brown sugar. This ensures your bars turn out perfect every time.
Step-by-Step Instructions
Preparation of the Pretzel Base
– In a large mixing bowl, mix together:
– 2 cups crushed pretzels
– 1 cup graham cracker crumbs
– ½ cup unsweetened cocoa powder
– Melt ½ cup unsalted butter and pour it into the bowl. Stir until the mix is crumbly and sticks together.
– Press this mixture firmly into the bottom of a 9×9-inch baking pan. Use a spatula to smooth it out evenly. Set it aside for now.
Making the Caramel Mixture
– In a saucepan, add:
– 1 cup brown sugar, packed
– 1 cup sweetened condensed milk
– Cook these over medium heat. Stir non-stop until the mix starts to boil. Let it boil gently for 2 to 3 minutes. This thickens the caramel.
– Take the pan off the heat and mix in:
– 1 cup caramel sauce
– ½ teaspoon sea salt
– Stir until everything is well-blended and smooth.
Assembling and Setting the Bars
– Pour the warm caramel mixture over the pretzel crust. Spread it out evenly.
– Let the bars cool to room temperature. Then, place them in the fridge for at least 2 hours. This time helps them set well.
– After chilling, lift the bars out of the pan using the edges of the parchment paper, if you used it. Cut into squares.
– For a sweet touch, melt ½ cup chocolate chips in the microwave and drizzle over each bar. This adds extra flavor and style!
Tips & Tricks
Best Practices for Success
To ensure the crust holds together, press the mixture firmly into the pan. Use a spatula to create an even layer. Make sure the butter is fully mixed in. This step keeps your bars from crumbling.
For cooling and cutting bars, let them sit at room temperature first. Then, chill them in the fridge for at least two hours. Once set, use a sharp knife to cut them into squares for clean edges.
Serving Suggestions
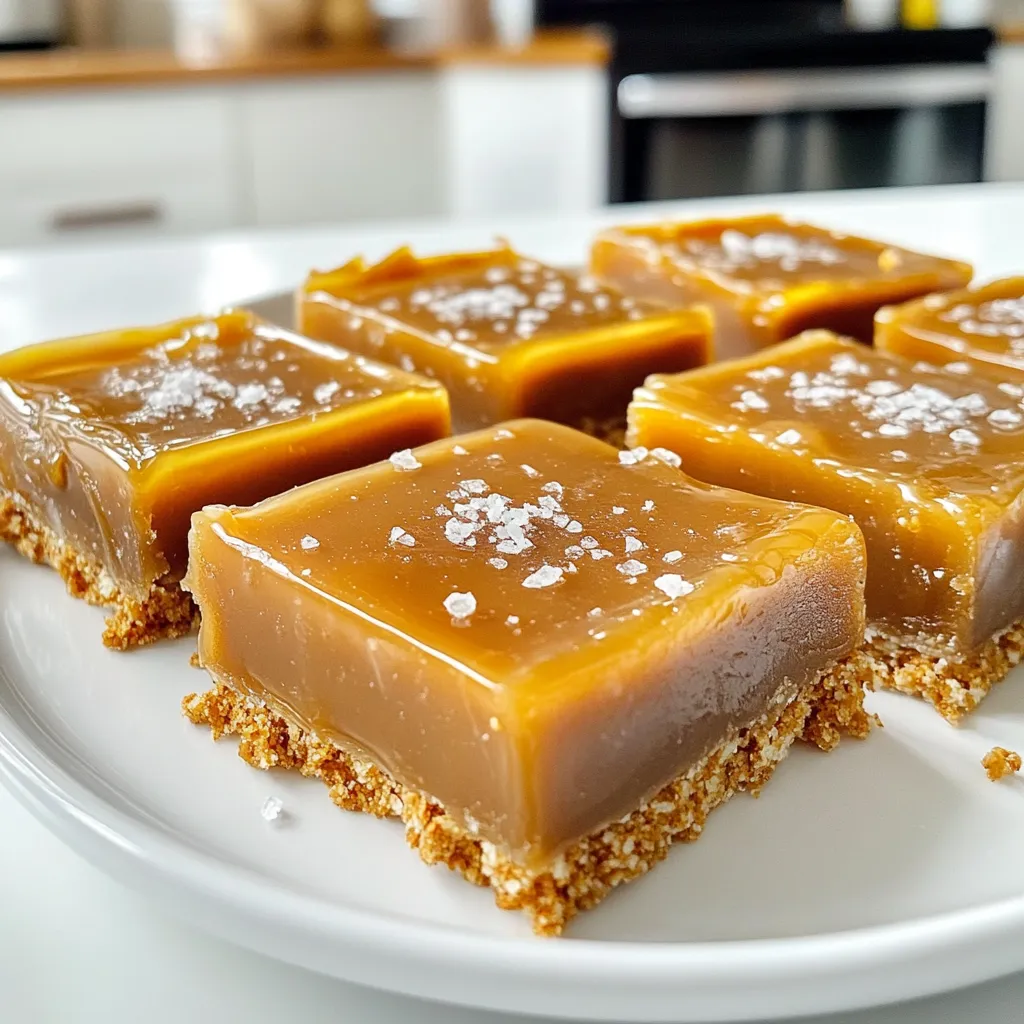
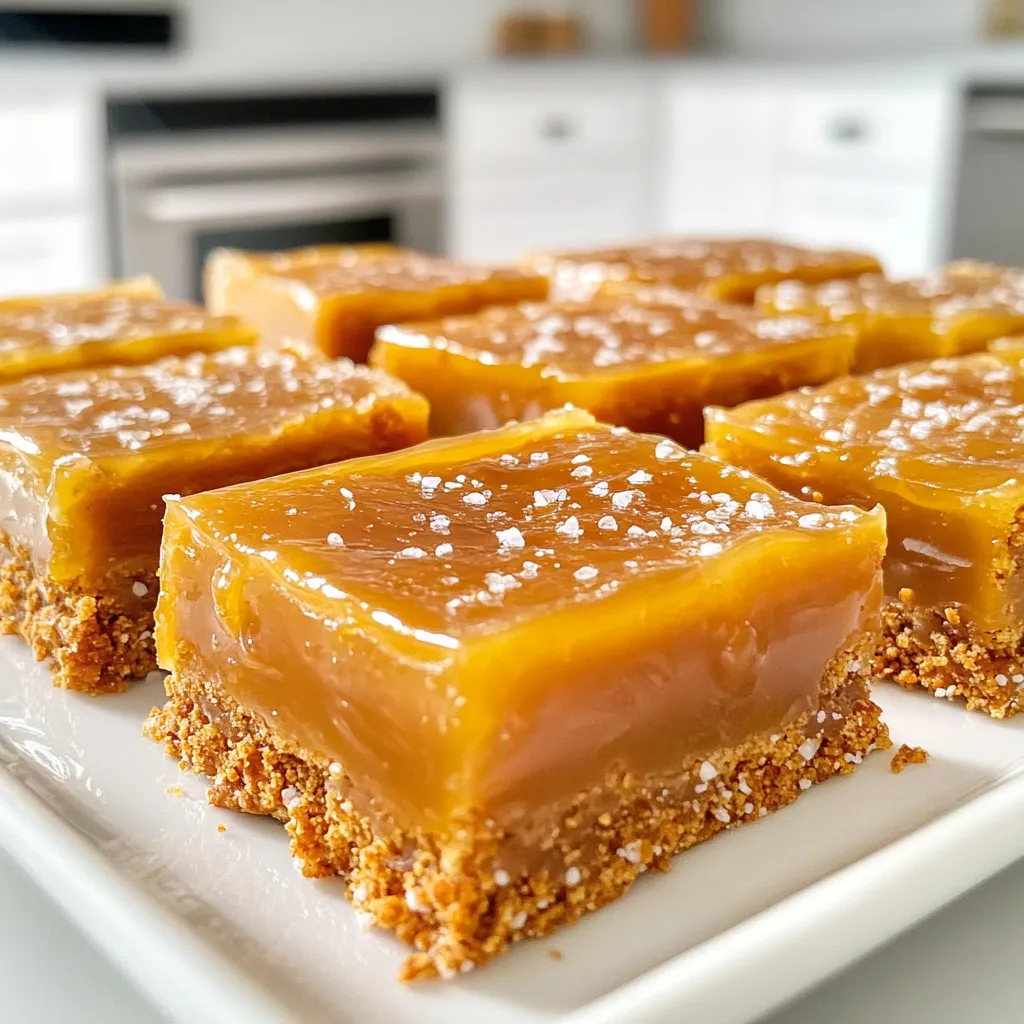
For presentation, arrange the bars on a nice platter. Sprinkle a little sea salt on top for a stylish touch. You can add a side of melted chocolate for dipping, which adds extra flavor.
Pair these bars with a glass of cold milk or coffee. They also go well with vanilla ice cream for a fun dessert.
Troubleshooting Common Issues
If the caramel is too runny, cook it longer on medium heat. Stir until it thickens, usually 2-3 minutes. This gives you a better texture on your bars.
To fix crumbling bars, try adding a bit more melted butter to the crust. This extra fat helps bind the ingredients together. If you need to, press the bars back into the pan to help them stick.
Variations
Flavor Variations
You can easily change the taste of these bars. Adding spices makes them unique. A dash of cinnamon gives a warm note. A splash of vanilla extract brings sweetness. You can also switch up the chocolate. Use dark chocolate for a rich taste. Milk chocolate offers a sweeter bite. White chocolate adds creaminess and looks pretty too.
Dietary Adaptations
If you need gluten-free options, try gluten-free pretzels. They work just as well in the crust. For vegan adaptations, use plant-based butter and dairy-free chocolate. You can also find vegan caramel sauce. These swaps keep the bars tasty and inclusive.
Seasonal Variants
You can make these bars fit the seasons. For holidays, add peppermint for a festive twist. Pumpkin spice brings warmth in the fall. You can also top them with fruit. Fresh strawberries or raspberries add a bright flavor. These changes keep your treats exciting year-round.
Storage Info
How to Store Leftover Bars
Store leftover bars in an airtight container. Use a glass or plastic container with a lid. This keeps them fresh and prevents drying out. Place a piece of parchment paper between layers to avoid sticking. Keep the container in the fridge.
Shelf Life
These bars last up to one week in the fridge. They taste best when fresh but can still be enjoyed later. For long-term storage, consider freezing them. Wrap each bar in plastic wrap, then place them in a freezer-safe bag. They can stay frozen for up to three months.
Reheating or Reviving Bars
If you freeze the bars, let them thaw in the fridge overnight. This keeps the texture nice. For a quick option, you can leave them at room temperature for about an hour. Avoid using a microwave, as it can make them too soft. Enjoy your bars at their best!
FAQs
Can I make these bars ahead of time?
Yes, you can make these bars ahead of time. This is a great option for busy days or events. I suggest preparing them a day or two before you plan to serve. Just keep them in the fridge until you are ready to enjoy. Wrap them tightly in plastic wrap or place them in an airtight container. This will keep them fresh and tasty.
Is it necessary to refrigerate no-bake bars?
Refrigerating no-bake bars is important. It helps them set and hold their shape. After you pour the caramel over the crust, let them cool to room temp. Then, place them in the fridge for at least two hours. This will ensure that they slice easily and stay firm. If you leave them out, they may become too soft and messy.
Can I use homemade caramel instead of store-bought?
Yes, you can use homemade caramel! Making your own caramel can add a special touch. To make it, melt sugar until it turns golden brown. Then, mix in cream and butter for a rich flavor. When using homemade caramel, let it cool slightly before pouring it over the crust. This will help it set better and taste amazing.
This recipe combines pretzels, chocolate, and caramel for a delicious treat. Remember to measure ingredients carefully for the best results. Follow the step-by-step instructions for a perfect outcome, and don’t hesitate to try variations or adapt it to your tastes. Storing these bars properly ensures they stay fresh. With these tips, you’ll impress friends and family with your baking skills. Enjoy making these mouth-watering bars!
