FREE DINNER EBOOK!
Get your copy!
Cookie Policy
GDPR Policy
Disclaimer
Terms Of Use
Visit my other site:
Fun Cookie Recipes
Home
Dinner
Desserts
Drinks
Appetizers
Contact
About
Privacy Policy
Home
Dinner
Desserts
Drinks
Appetizers
Contact
About
Privacy Policy
Cookie Policy
GDPR Policy
Disclaimer
Terms Of Use
Visit my other site:
Fun Cookie Recipes
HOME / CATEGORIES /
Latest
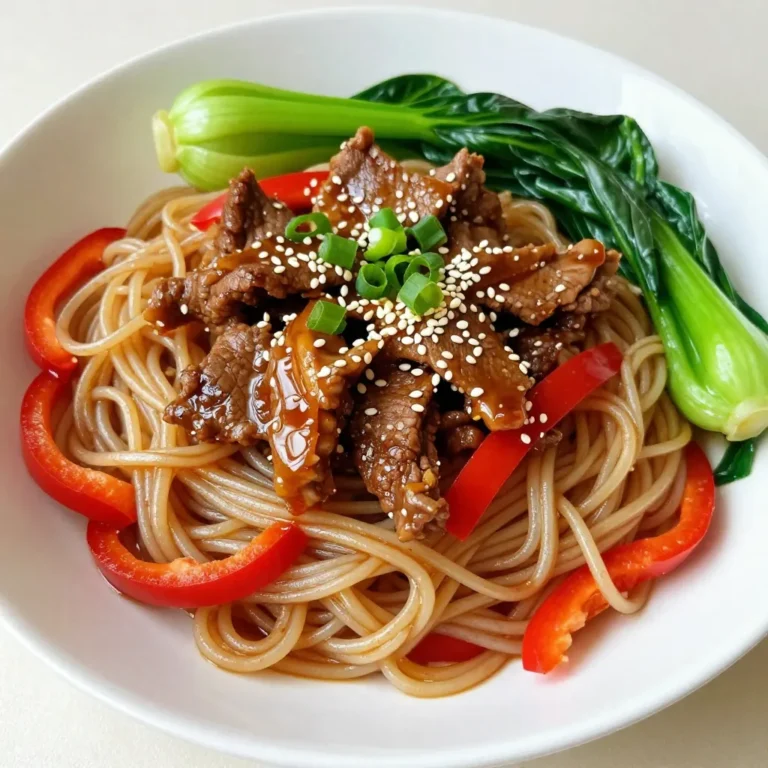
Savory Sesame Ginger Beef Noodles Quick and Easy Recipe
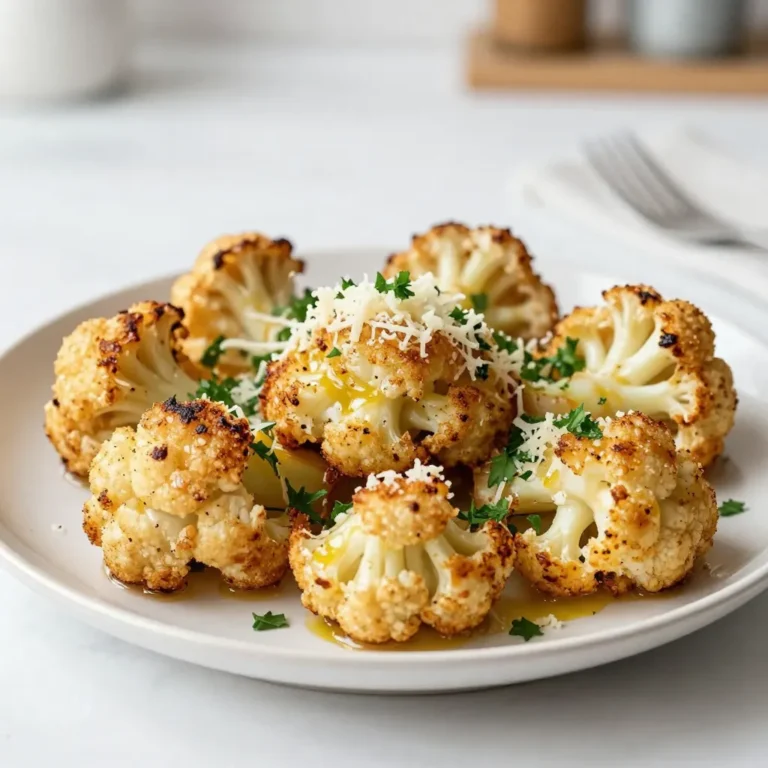
Garlic Parmesan Roasted Cauliflower Flavorful Delight
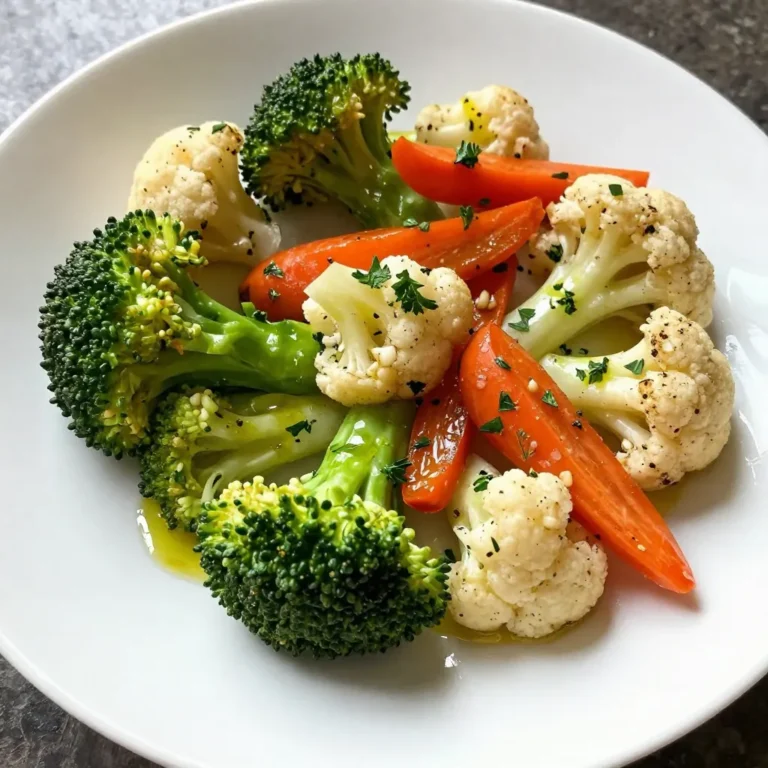
Garlic Herb Roasted Veggies Simple Flavorful Dish
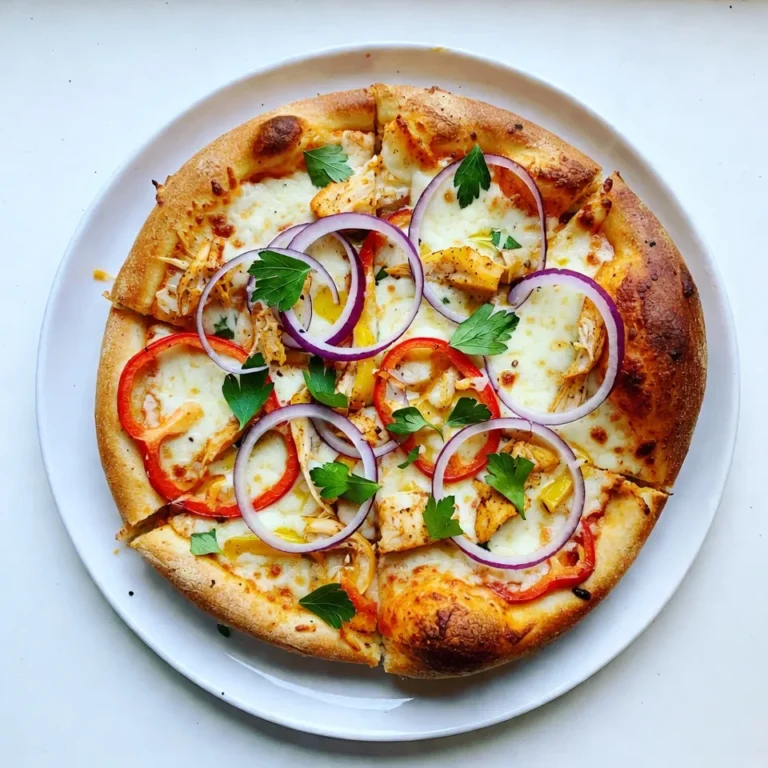
Cajun Chicken Alfredo Pizza Flavorful Dinner Delight
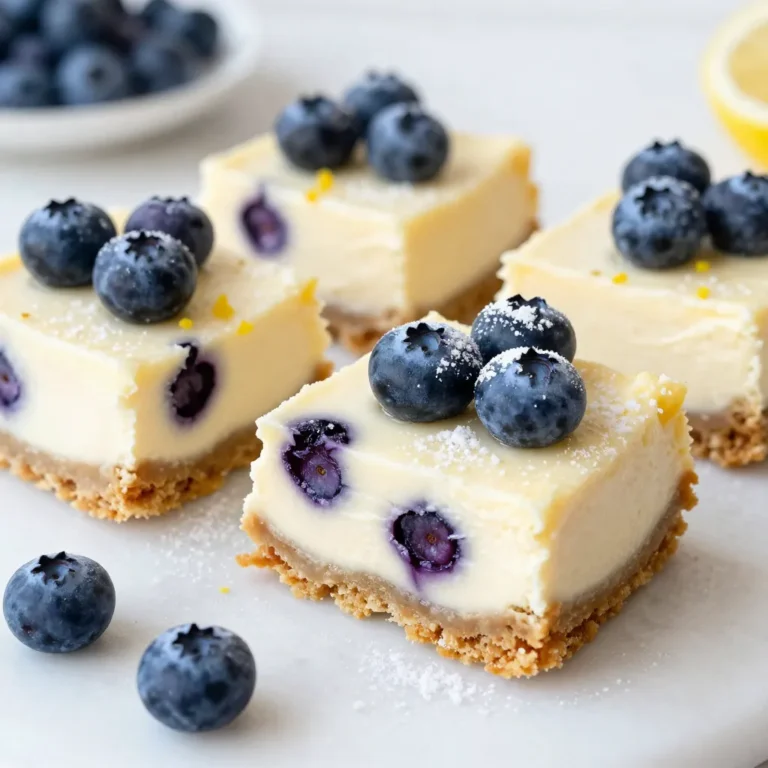
Blueberry Lemon Cheesecake Bars Easy and Delicious Treat
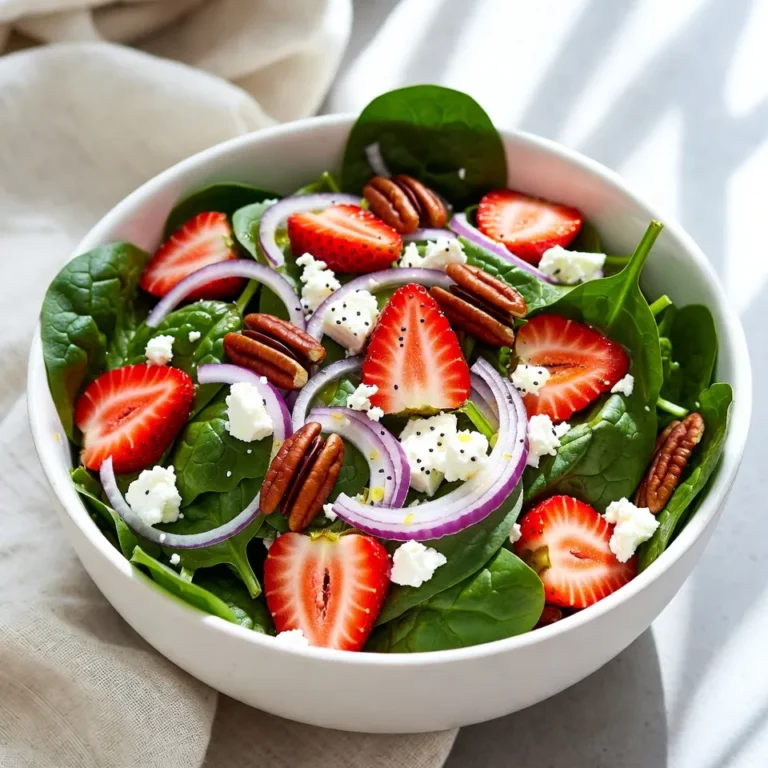
Strawberry Spinach Poppy Seed Salad Fresh Delight
Chocolate Hazelnut Babka Delightful and Easy Recipe
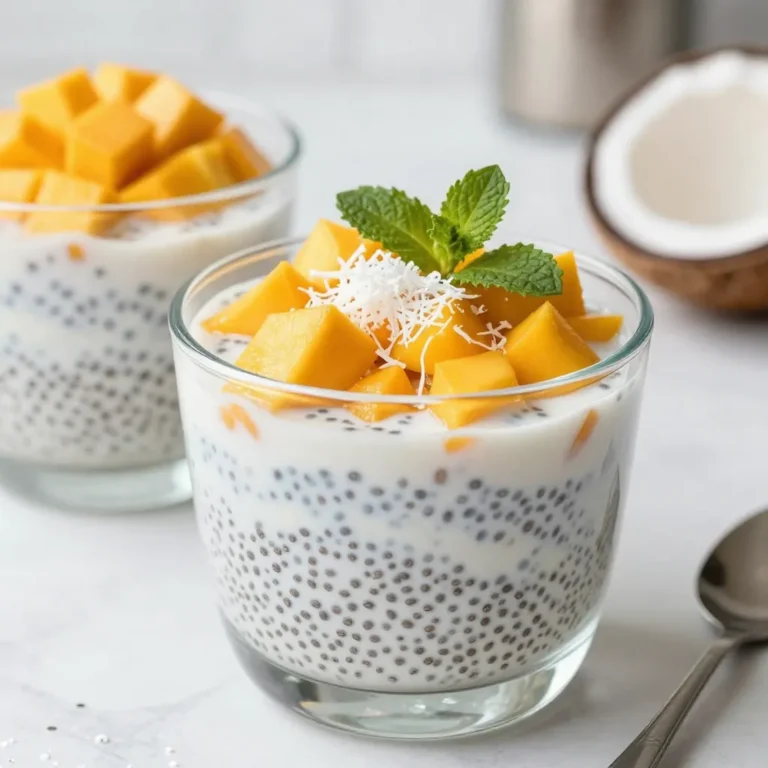
Mango Coconut Chia Pudding Simple and Tasty Treat
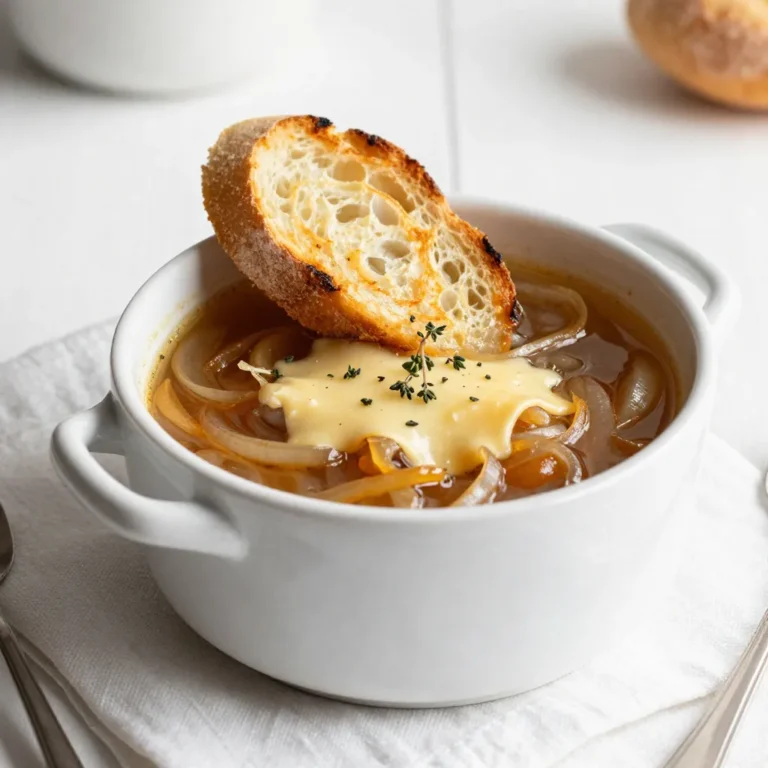
Classic French Onion Soup Comforting and Hearty Dish
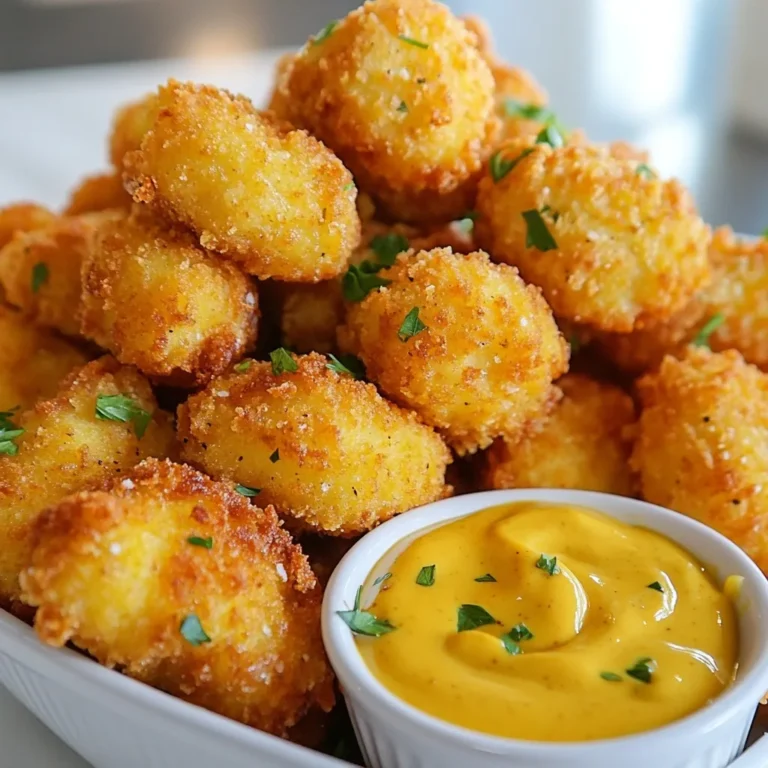
Copycat Chick-fil-A Nuggets Irresistible Flavor Guide
1
2
…
86
NEXT