FREE DINNER EBOOK!
Get your copy!
Cookie Policy
GDPR Policy
Disclaimer
Terms Of Use
Visit my other site:
Fun Cookie Recipes
Home
Dinner
Desserts
Drinks
Appetizers
Contact
About
Privacy Policy
Home
Dinner
Desserts
Drinks
Appetizers
Contact
About
Privacy Policy
Cookie Policy
GDPR Policy
Disclaimer
Terms Of Use
Visit my other site:
Fun Cookie Recipes
HOME / CATEGORIES /
Latest
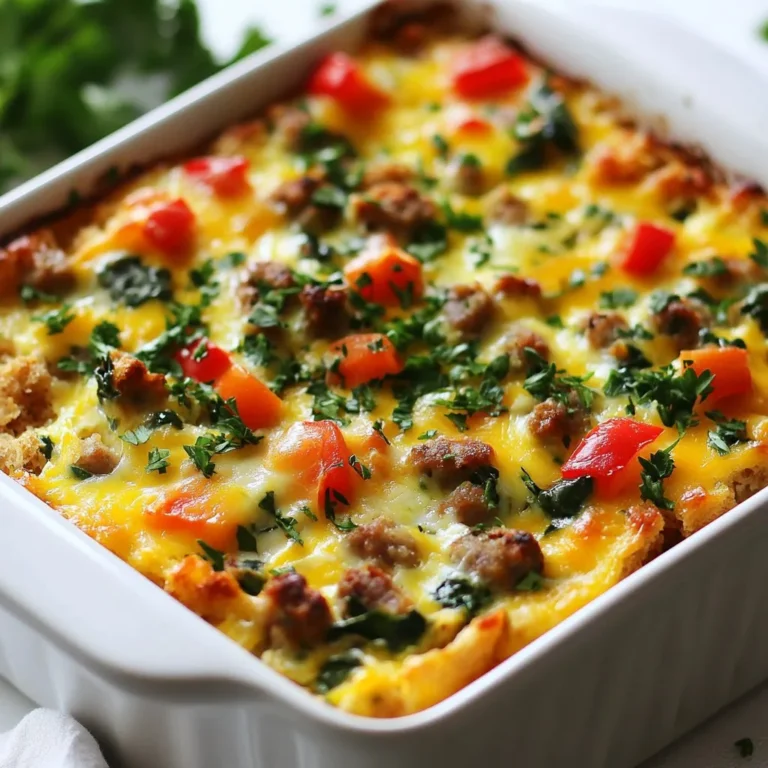
Festive Christmas Breakfast Casserole Delightfully Simple
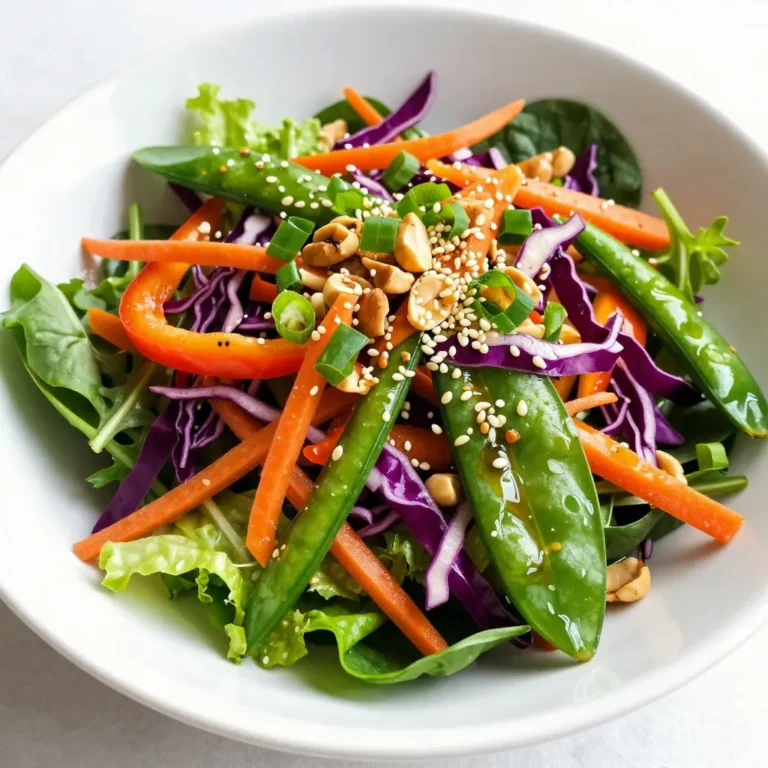
Crunchy Asian Sesame Salad Flavorful and Fresh Dish
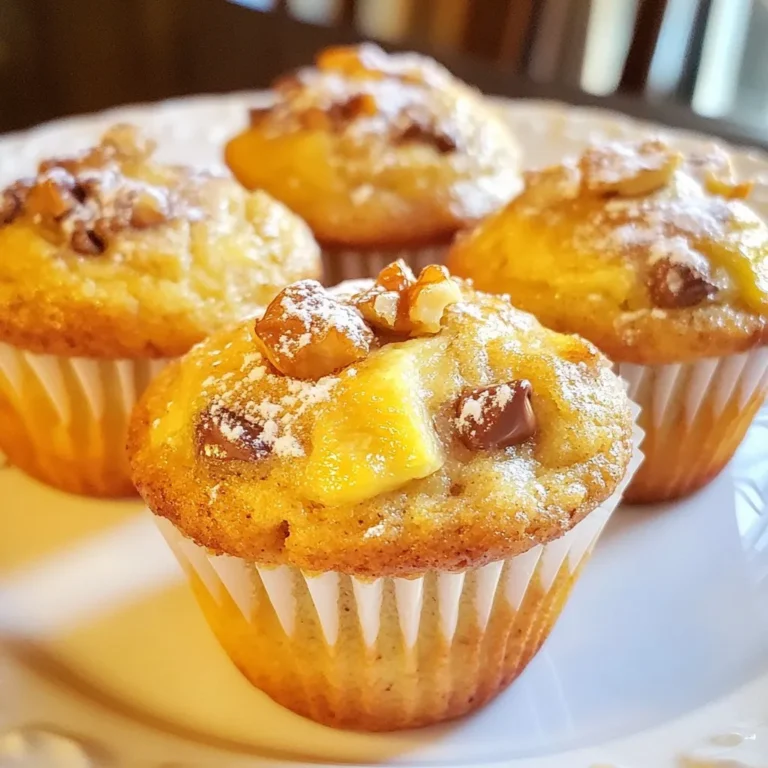
Chocolate Chip Banana Bread Muffins That Wow
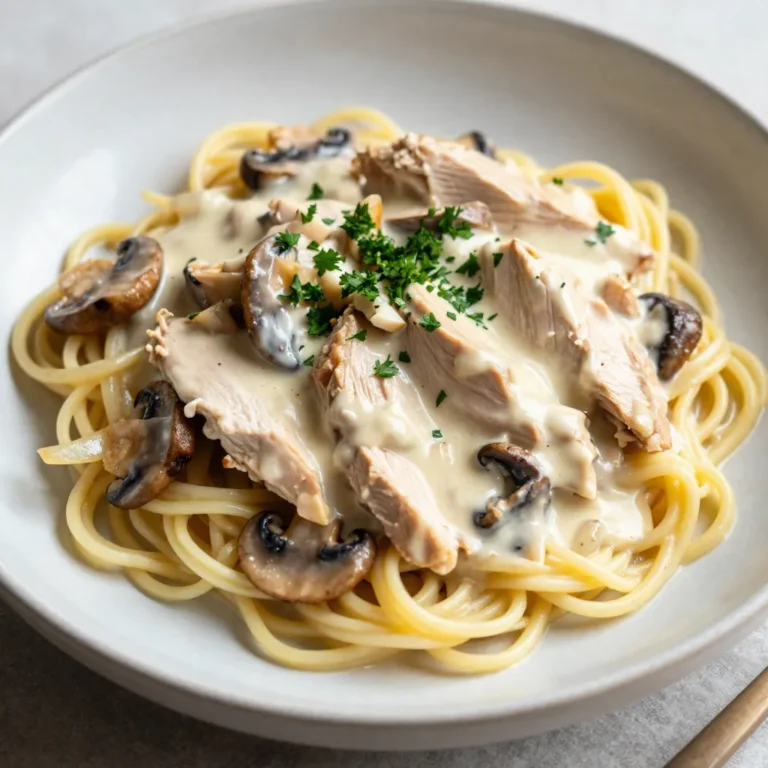
Creamy Chicken Stroganoff Cozy and Comforting Recipe
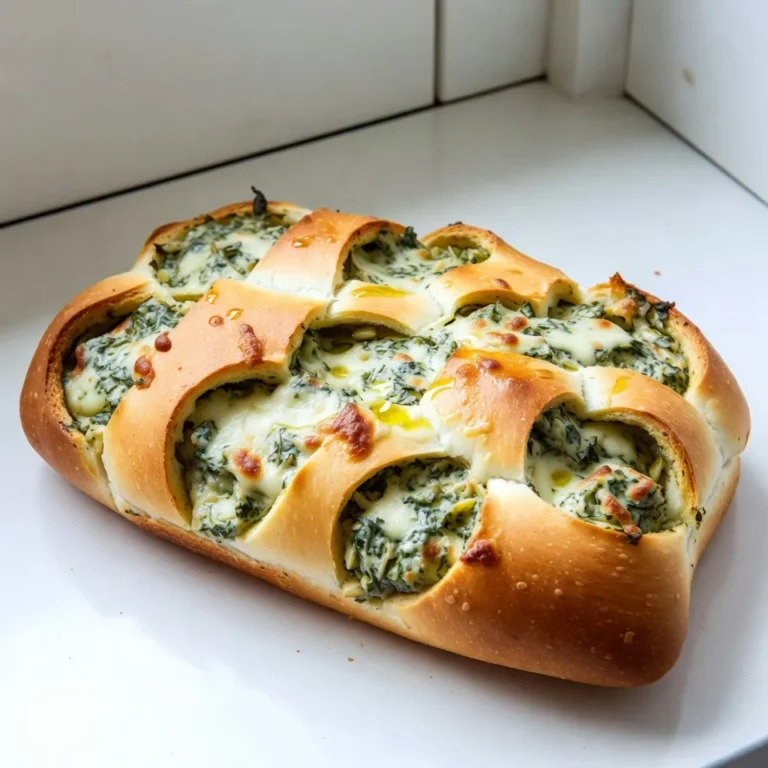
Spinach Artichoke Dip Pull-Apart Bread Delight
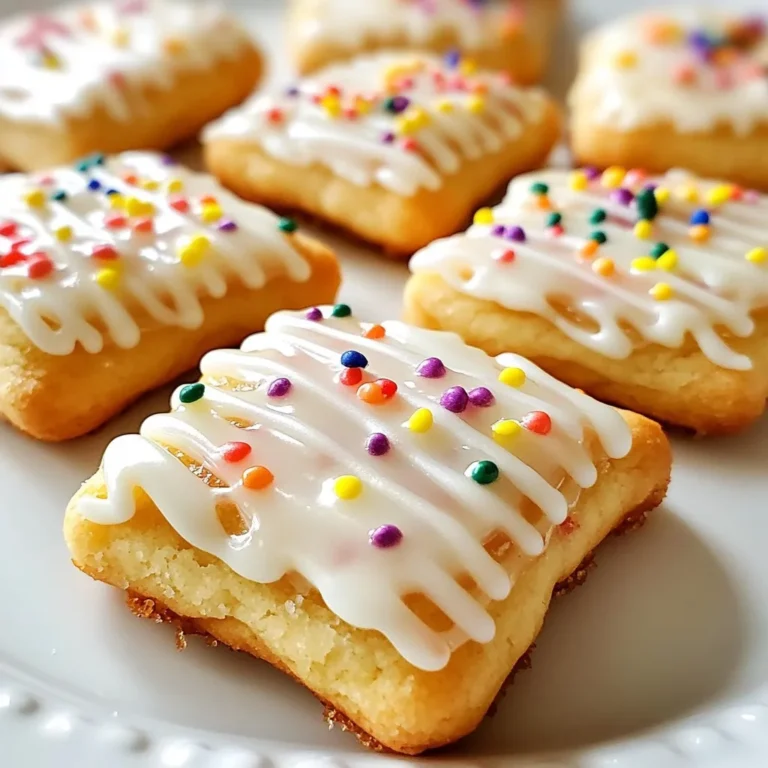
Brown Sugar Pop Tart Cookies Delightfully Simple Treat
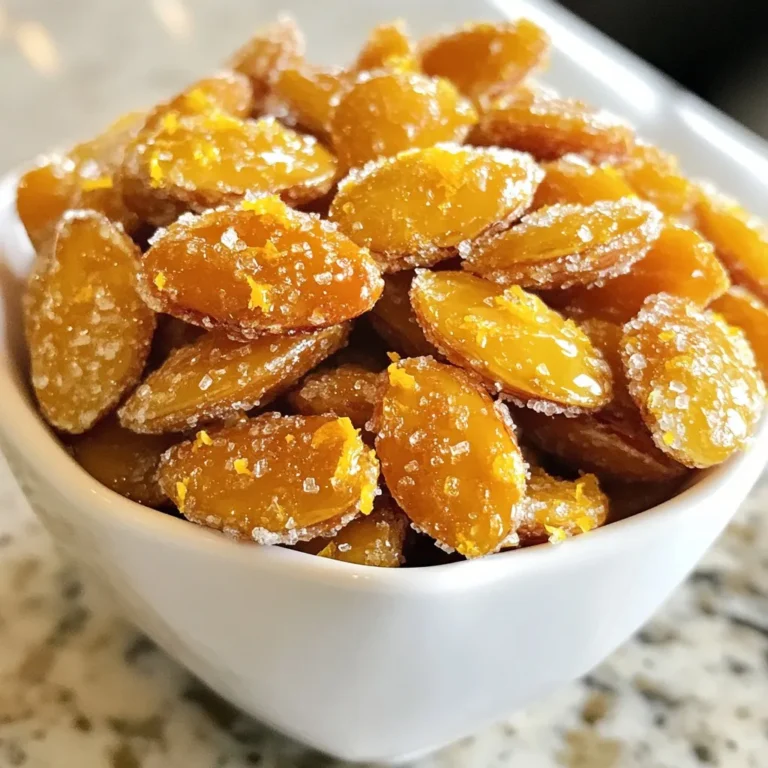
Orange Candied Almonds Delightful Sweet Snack Recipe
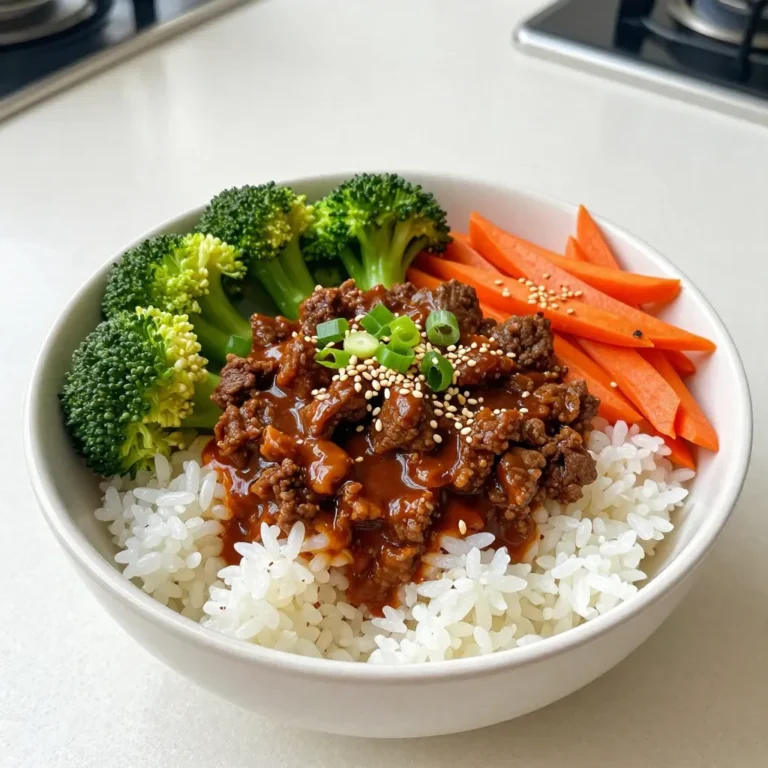
Spicy Korean Beef Bowls Flavorful and Easy Recipe
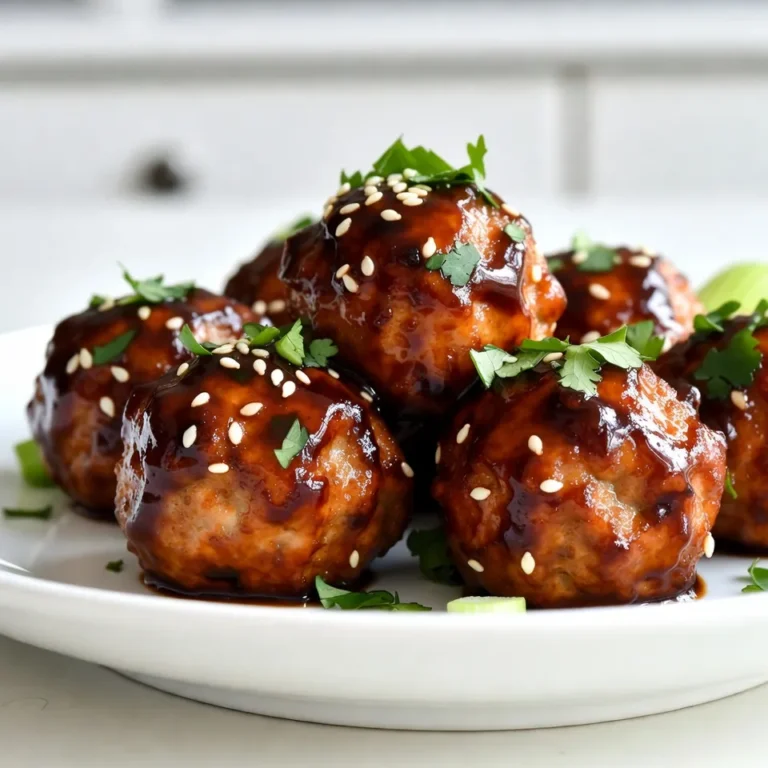
Teriyaki Chicken Meatballs Flavorful and Easy Recipe
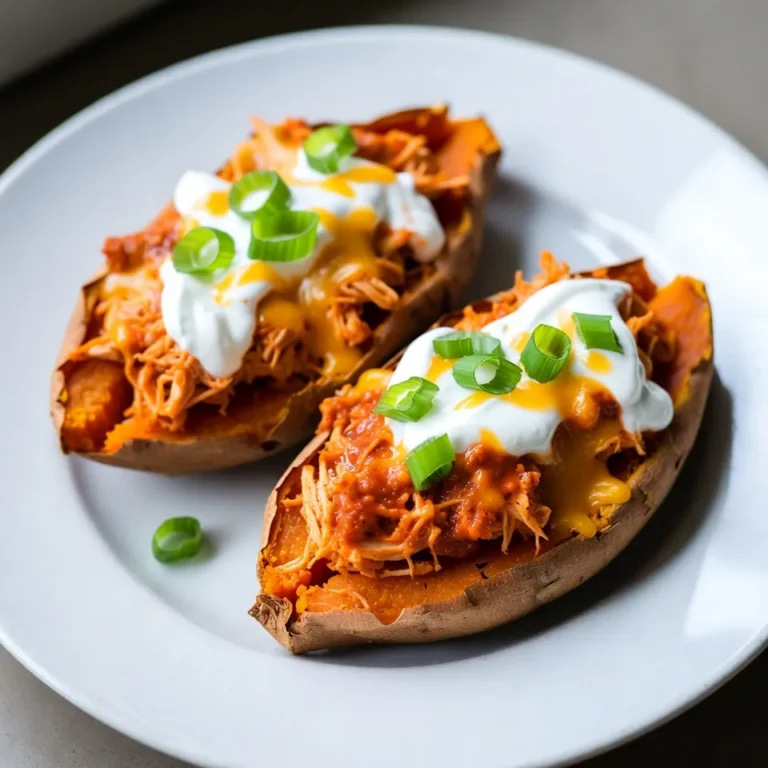
Buffalo Chicken Stuffed Sweet Potatoes Savory Delight
PREV
1
2
3
4
…
86
NEXT