FREE DINNER EBOOK!
Get your copy!
Cookie Policy
GDPR Policy
Disclaimer
Terms Of Use
Visit my other site:
Fun Cookie Recipes
Home
Dinner
Desserts
Drinks
Appetizers
Contact
About
Privacy Policy
Home
Dinner
Desserts
Drinks
Appetizers
Contact
About
Privacy Policy
Cookie Policy
GDPR Policy
Disclaimer
Terms Of Use
Visit my other site:
Fun Cookie Recipes
HOME / CATEGORIES /
Latest
One-Pan Beef and Broccoli Simple and Tasty Meal
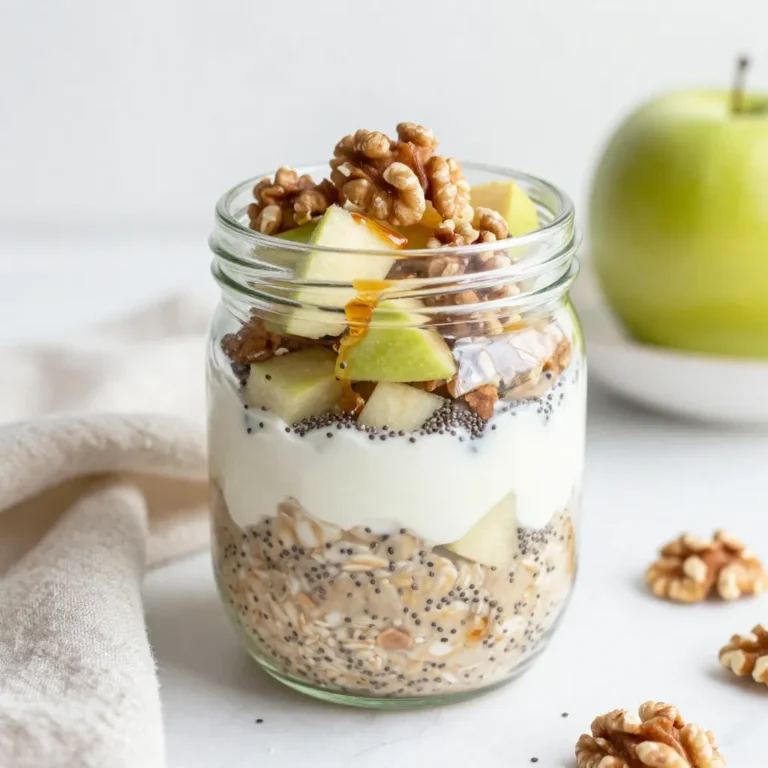
Apple Cinnamon Overnight Oats Tasty and Easy Recipe
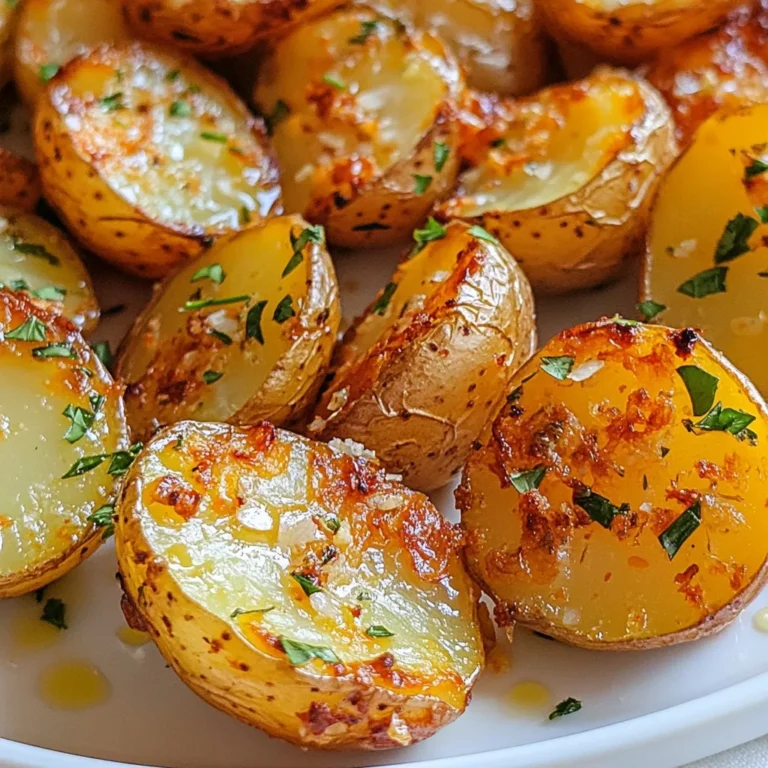
Herb Garlic Roasted Potatoes Flavorful and Easy Dish
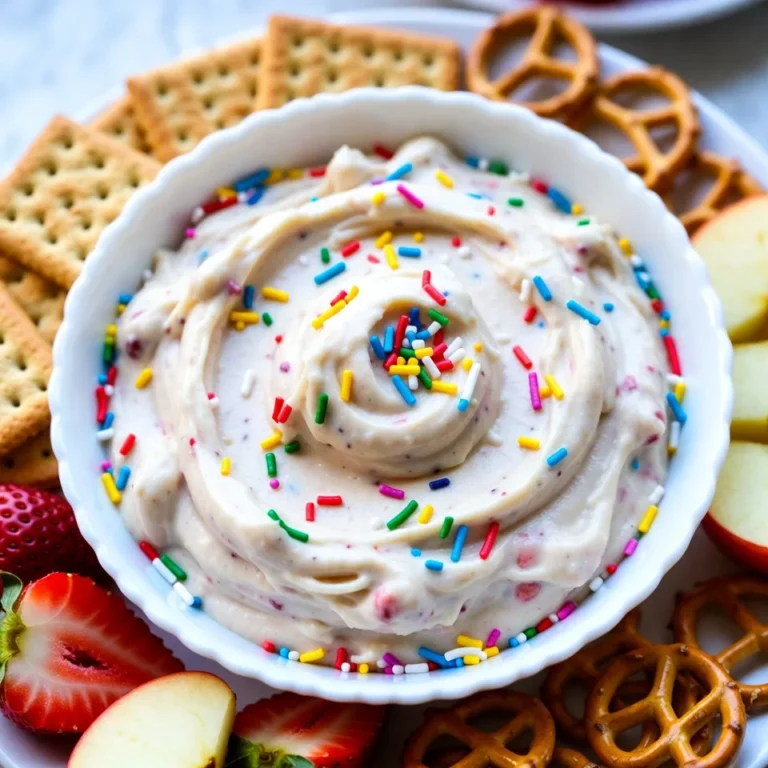
Funfetti Cake Batter Dip Joyful and Easy Treat
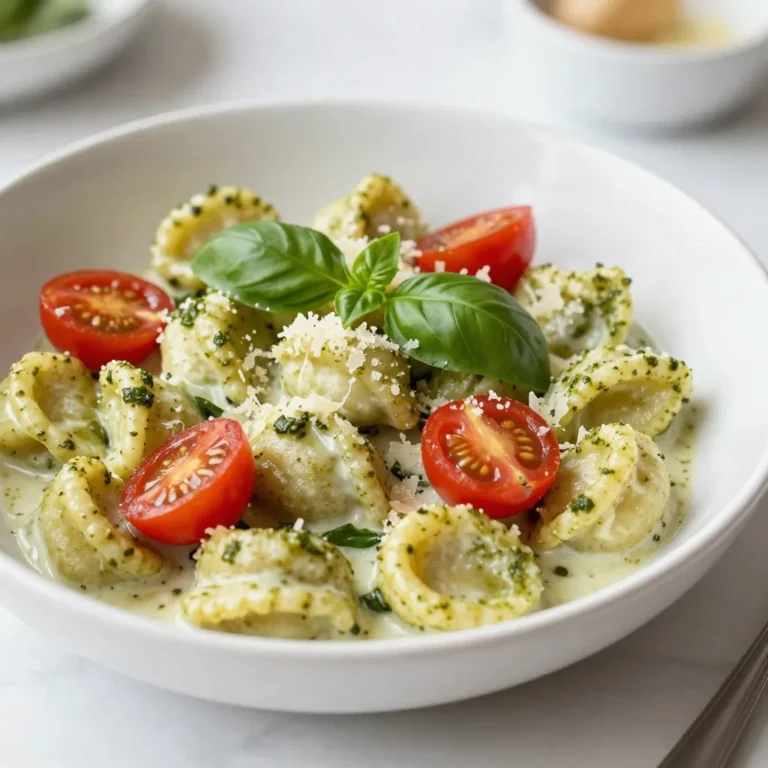
Creamy Pesto Gnocchi Quick and Tasty Dinner Idea
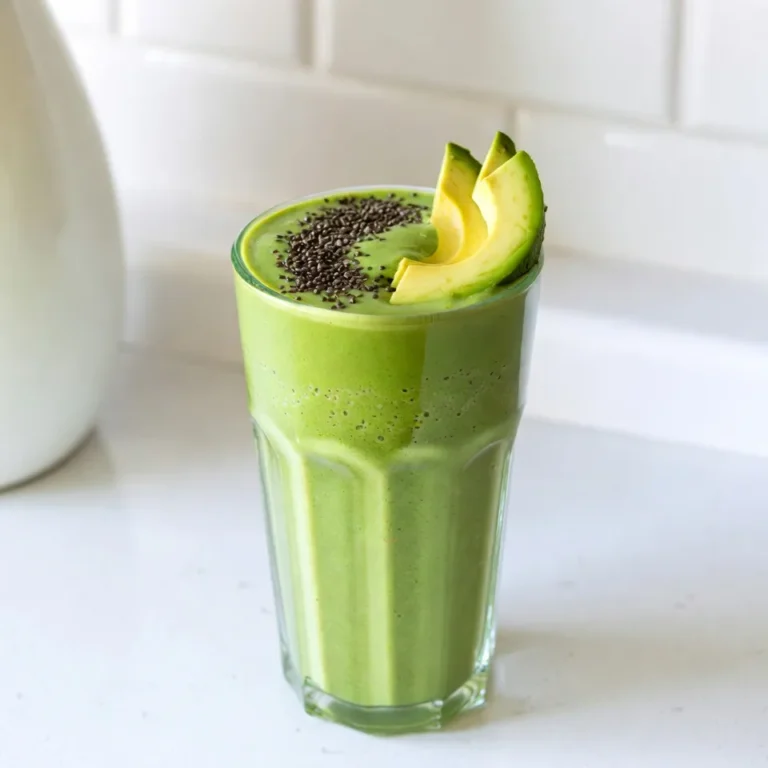
Healthy Green Goddess Smoothie for Vibrant Energy
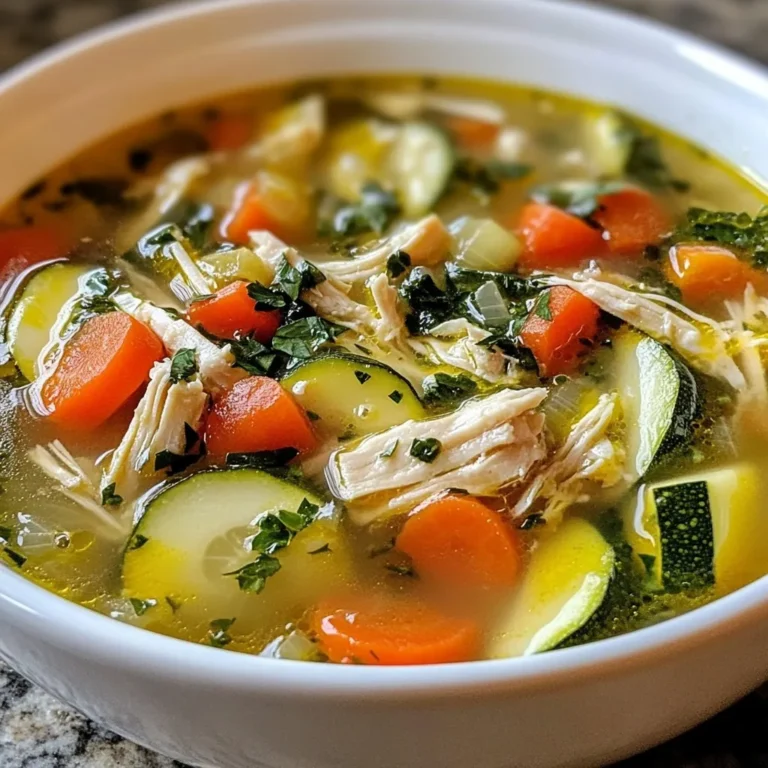
High-Protein Chicken Veggie Soup Hearty and Simple Dish
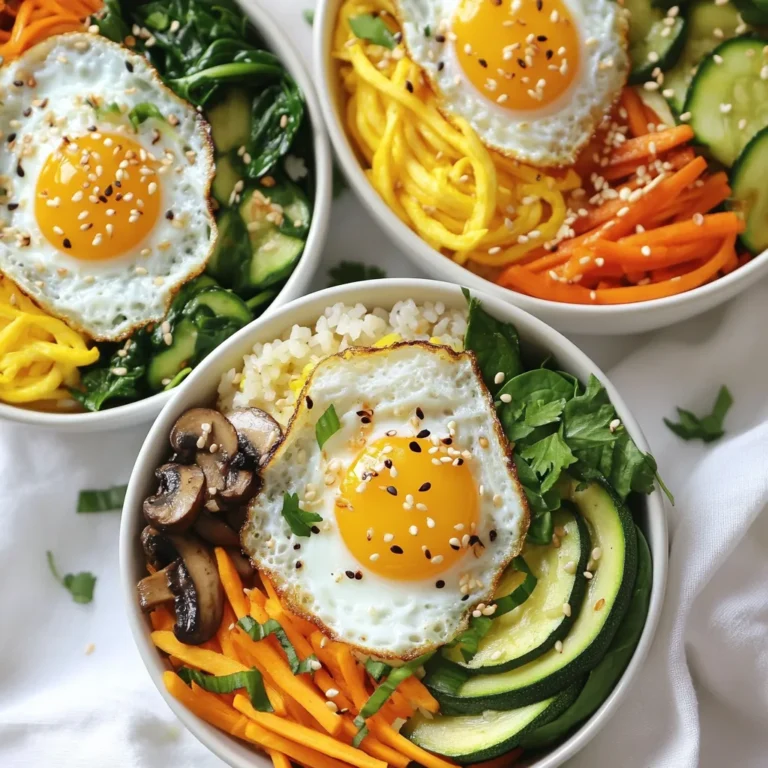
Korean Bibimbap Bowls Easy and Flavorful Recipe
Sesame Ginger Noodle Salad Bright and Fresh Delight
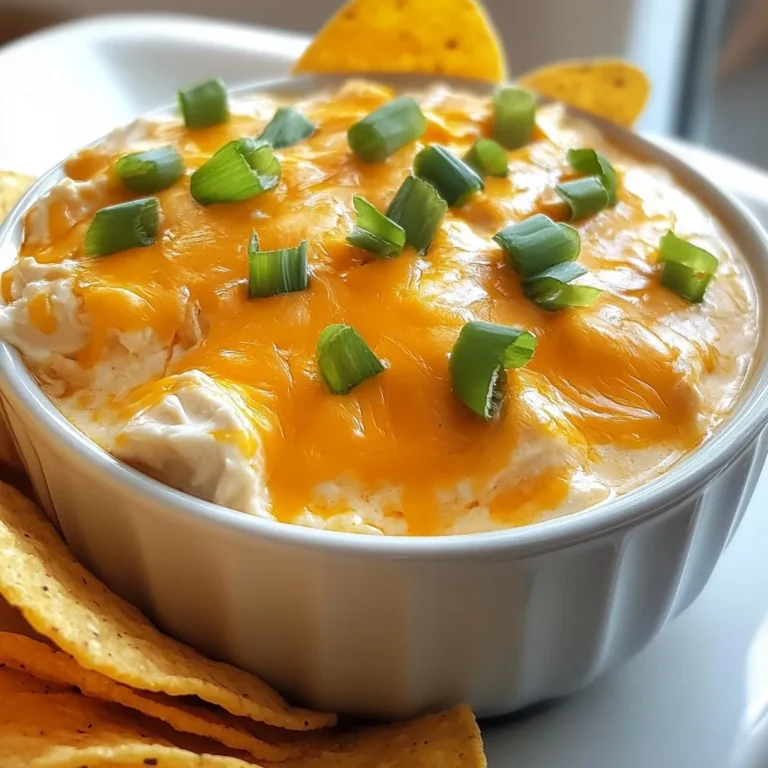
Easy Crockpot Buffalo Chicken Dip Flavorful and Simple
PREV
1
…
3
4
5
…
86
NEXT