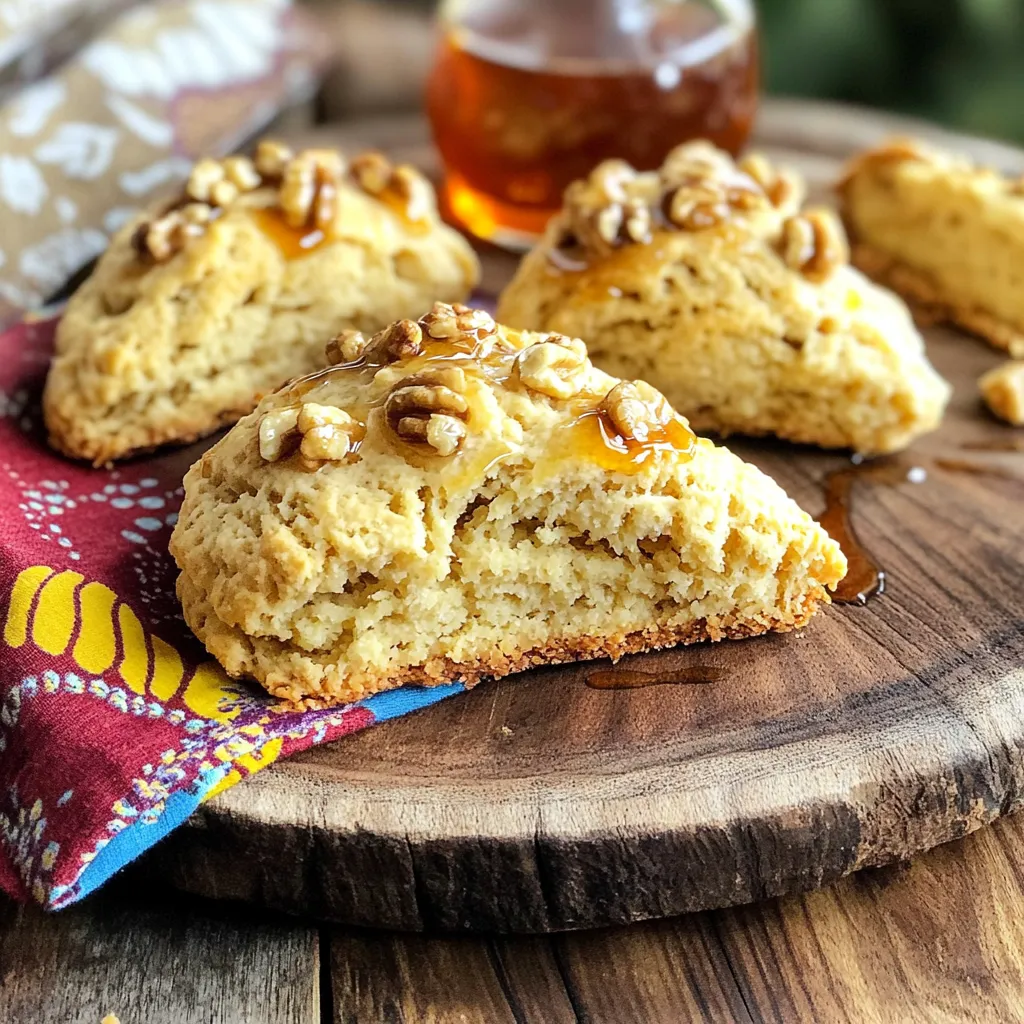
Are you craving a sweet treat that’s as simple as it is delightful? You’re in the right place! These Bakery-Style Maple Walnut Scones bring a taste of the bakery to your kitchen. With just a few easy steps, you can create warm, flaky scones that burst with rich maple flavor and crunchy walnuts. Let’s dive into the ingredients and techniques that will make your scones a hit!
Ingredients
Main Ingredients
– 2 cups all-purpose flour
– 1/3 cup granulated sugar
– 1 tablespoon baking powder
– 1/2 teaspoon salt
I love starting with the main ingredients. The flour gives the scones their body. Sugar adds sweetness, while baking powder helps them rise. Salt balances the flavors.
Key Add-ins
– 1/2 cup cold unsalted butter, cubed
– 1/2 cup walnuts, chopped
– 3/4 cup heavy cream
Cold butter is key. It creates small pockets of fat. This makes the scones flaky. Chopped walnuts add crunch and flavor. Heavy cream adds richness, making the dough moist.
Flavor Enhancers
– 1/4 cup pure maple syrup
– 1 teaspoon vanilla extract
– 1 egg, lightly beaten (for egg wash)
Maple syrup is the star here. It gives a warm, sweet flavor. Vanilla adds depth. The egg wash gives the scones a golden shine. It makes them look as good as they taste.
Step-by-Step Instructions
Prepping Your Oven and Baking Sheet
– Preheat oven to 400°F (200°C).
– Line a baking sheet with parchment paper.
Start by preheating your oven. This step helps the scones bake evenly. Lining your baking sheet with parchment paper ensures easy cleanup and prevents sticking.
Combining Dry Ingredients
– Whisk together flour, sugar, baking powder, and salt.
In a large bowl, mix the flour, sugar, baking powder, and salt. Whisking helps to add air and makes the scones lighter. Make sure there are no lumps left in the dry mix.
Mixing in Wet Ingredients
– Cut in butter, add walnuts, and combine cream mixture.
Next, add the cold, cubed butter to your dry mix. Use a pastry cutter or your fingers. You want the mix to look like coarse crumbs. Then, stir in the chopped walnuts evenly. In a separate bowl, whisk the heavy cream, maple syrup, and vanilla extract. Pour this mixture into the dry ingredients and stir gently. Do not overmix; it’s okay if some flour pockets remain.
Forming and Baking the Scones
– Knead dough, shape into a disc, cut into wedges, and bake.
Turn the dough onto a floured surface. Knead it gently about 5-6 times until it forms a ball. Pat the dough into a disc about 1 inch thick. Cut it into wedges like a pizza or use a biscuit cutter for round shapes. Place the scones on the baking sheet. Brush the tops with beaten egg for shine. If you like, sprinkle extra walnut pieces on top. Bake for 15-18 minutes until golden brown. Enjoy the warm, sweet smell filling your kitchen!
Tips & Tricks
Achieving the Perfect Texture
To get the best texture in your scones, avoid overmixing the dough. When you mix, do it gently. You want to combine the ingredients without making the dough tough. For the butter, it should be cold and cut into small cubes. Use a pastry cutter or your fingers to mix it into the flour. You want it to look like coarse crumbs. This step is key for fluffy scones.
Enhancing Flavor
Using high-quality maple syrup makes a big difference in taste. It adds rich, sweet notes that shine through. You can also play around with the amount of vanilla extract. Adding a bit more can enhance the scone’s flavor. Just remember, balance is important. Too much can overpower the maple.
Presentation Suggestions
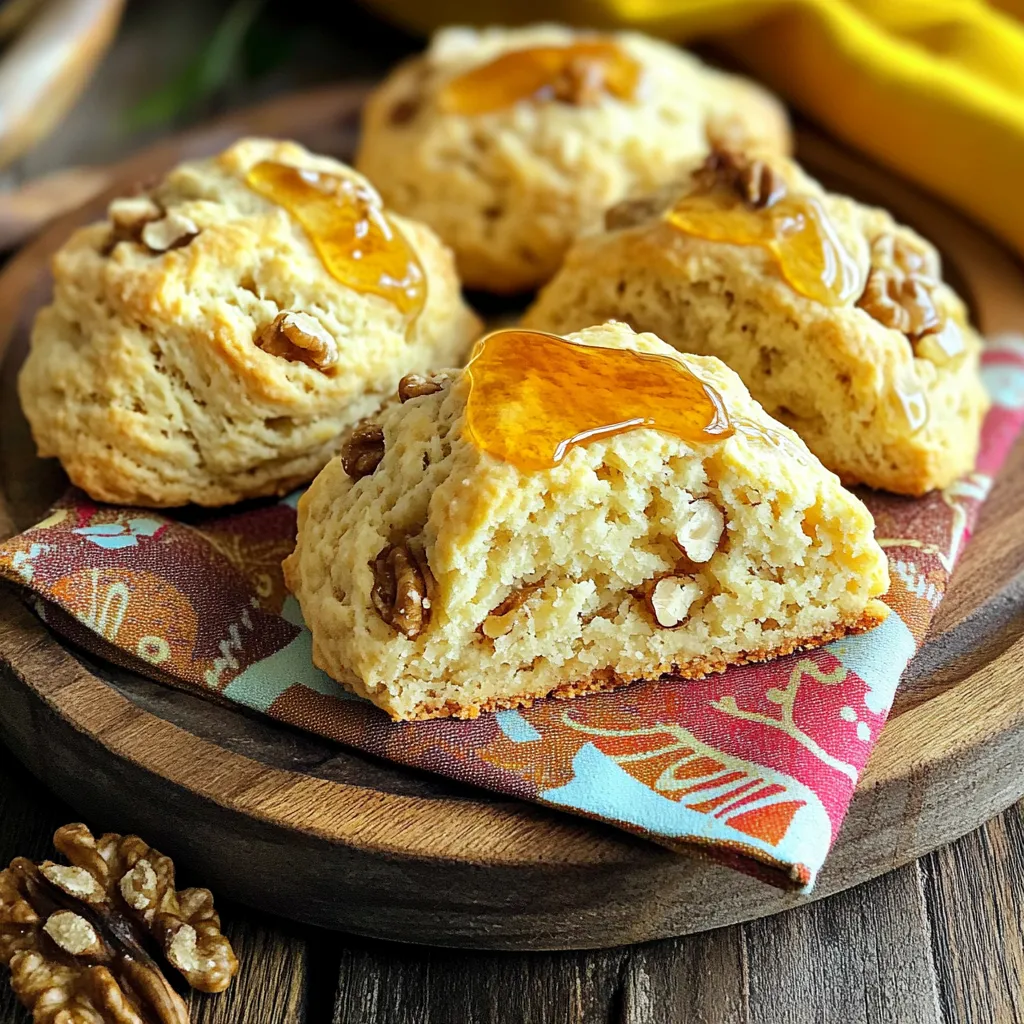
Serve your scones warm for the best experience. Drizzle extra maple syrup on top for added sweetness. For a rustic look, place them on a wooden platter or a bright napkin. This adds charm and makes the scones inviting. Simple touches can elevate your presentation and impress your guests.
Variations
Dietary Modifications
If you need to make your scones gluten-free, you can use gluten-free flour. Many brands offer good blends that work well in baking. Just make sure to check the package for the right amount to use. For a dairy-free option, swap heavy cream with almond milk or coconut cream. Both add a nice taste and keep the texture right.
Flavor Customizations
You can add extra flavor to your scones by mixing in dried fruits or chocolate chips. Dried cranberries or raisins pair nicely with maple. If you like chocolate, dark chocolate chips are a great choice. Another fun option is using flavored extracts, like almond or maple. Just a few drops can change the whole taste.
Different Nut Choices
Not a fan of walnuts? You can easily switch them out for pecans or almonds. Both nuts add a lovely crunch and flavor. If you want to boost the nut taste, try toasting them lightly before adding to the dough. Toasting brings out their oils and makes them even more delicious.
Storage Info
Storing Leftover Scones
To keep your scones fresh, use an airtight container. This helps to trap moisture and flavor. Place the scones in the container once they cool. They will stay fresh for up to three days. If you want them to last longer, consider freezing them.
Reheating Instructions
When you are ready to enjoy your scones again, you can refresh them. Preheat your oven to 350°F (175°C). Place the scones on a baking sheet. Heat for about 5 to 10 minutes until warm. You can also use a microwave for quick reheating. Just heat for 10 to 15 seconds, but they may not be as crisp.
Freezing Scones
You can freeze both raw and baked scones. To freeze raw scones, shape them and place them on a baking sheet. Freeze for about two hours, then transfer to a bag. For baked scones, let them cool first. Wrap each one in plastic wrap before placing them in a freezer bag. They stay good for about three months. When ready to bake raw scones, no need to thaw. Just pop them in the oven and increase baking time by a few minutes.
FAQs
How do I know when scones are done baking?
To know when your scones are done, look for these signs:
– The tops should be golden brown.
– The scones should feel firm to the touch.
– A toothpick inserted in the center should come out clean.
These signs show that your scones are baked and ready to enjoy.
Can I make the dough ahead of time?
Yes, you can make the dough ahead of time! Here’s how:
– Prepare the dough and shape it into a disc.
– Wrap it tightly in plastic wrap.
– Store it in the fridge for up to 24 hours.
When you’re ready, simply cut it into wedges and bake as usual.
What can I substitute for walnuts?
If you want to substitute walnuts, here are some great options:
– Pecans work well and add a nice flavor.
– Almonds are a tasty choice too.
– For a nut-free option, try sunflower seeds.
Adjust the amount as needed to maintain the scone’s texture.
In this blog post, we explored how to make delicious scones. We covered key ingredients like flour, sugar, and butter. You learned step-by-step instructions for mixing wet and dry items. I shared tips for perfect texture and flavor, plus fun variations.
Now, you can bake tasty scones tailored to your taste. Enjoy fresh, warm scones that impress your friends and family. With the right techniques, you’ll master this treat in no time. Happy baking!