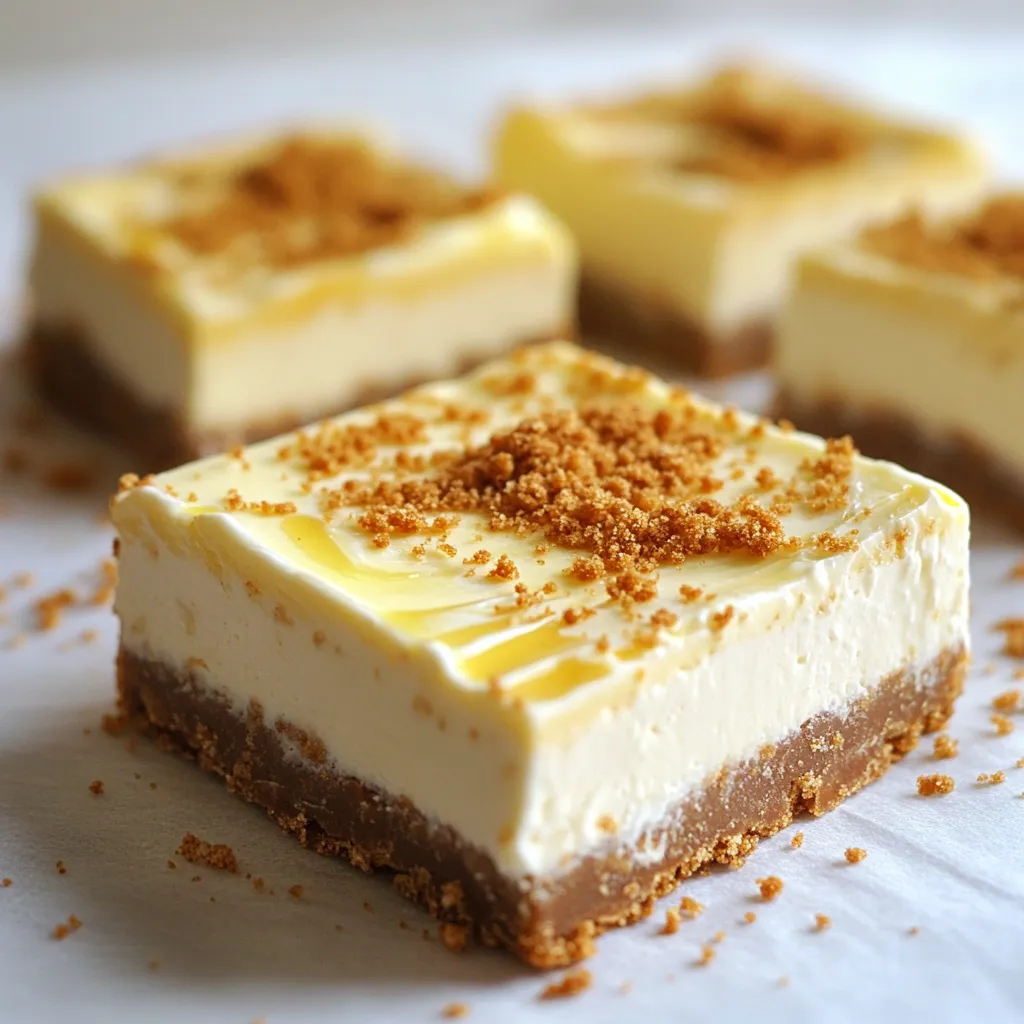
Looking for a simple yet delicious dessert? Try my no-bake Biscoff cheesecake bars! With creamy layers and a crunchy crust, this easy recipe brings the flavors of Biscoff cookies right to your table. Get ready to impress with minimal effort. I’ll guide you through every step, from the crust to the perfect chill time. Let’s dive into this delectable treat that’s sure to satisfy your sweet tooth!
Ingredients
To make the Biscoff cheesecake bars, you need a few simple ingredients. Here’s what you’ll need:
– 1 cup Biscoff cookies, crushed
– 1/4 cup unsalted butter, melted
– 8 oz cream cheese, softened
– 1/2 cup powdered sugar
– 1 cup heavy whipping cream
– 1/2 cup Biscoff spread
– 1 teaspoon vanilla extract
– A pinch of salt
– Biscoff cookie crumbles for garnish
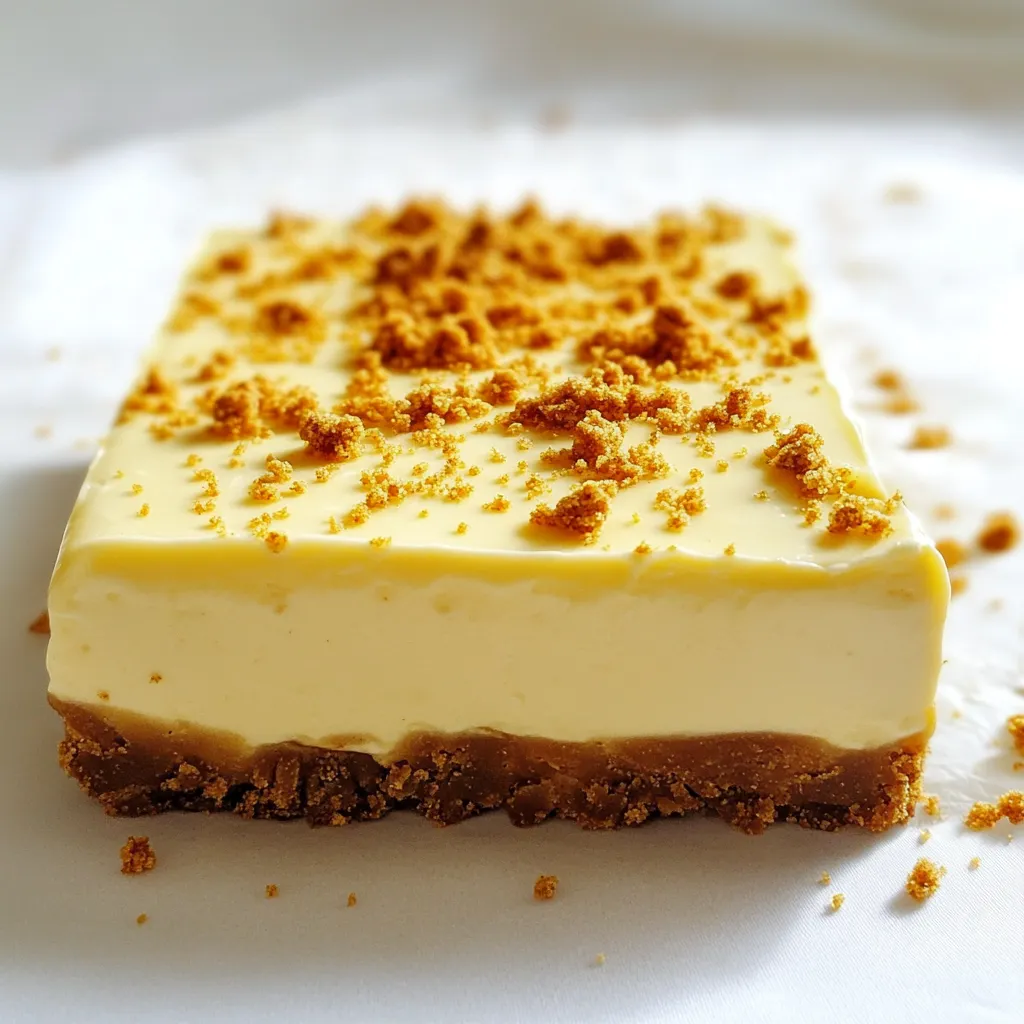
These ingredients come together to create a rich and creamy dessert. The Biscoff cookies give a nice crunch, while the cream cheese and heavy cream provide a smooth texture. The Biscoff spread adds that unique flavor that makes this dessert special.
Make sure your cream cheese is softened. This step helps it mix well with the sugar and Biscoff spread. You can also adjust the amount of powdered sugar based on how sweet you like your dessert.
The Biscoff cookie crumbles on top are not just for looks; they add extra flavor and crunch. This dessert is easy, fun, and sure to impress anyone who tries it. Plus, it’s a no-bake recipe, so you can enjoy your time in the kitchen without the heat of the oven!
Step-by-Step Instructions
Preparing the Crust
To start, combine 1 cup of crushed Biscoff cookies with 1/4 cup of melted unsalted butter in a medium bowl. Mix well until all the crumbs look wet. This is key for a firm base. Next, press the mixture into the bottom of a 9×9-inch baking pan. Use a spatula or the back of a measuring cup to pack it down tightly. This helps the crust hold together. After that, place the pan in the refrigerator for about 15 minutes to set.
Making the Cheesecake Filling
In a large mixing bowl, beat 8 oz of softened cream cheese and 1/2 cup of powdered sugar together. Mix until it’s smooth and creamy. This step is crucial for a rich filling. Then, add 1/2 cup of Biscoff spread and 1 teaspoon of vanilla extract. Mix again until everything is fully combined. The filling should be thick and luscious.
Whipping the Cream
In a separate bowl, whip 1 cup of heavy whipping cream with a pinch of salt. Use an electric mixer for this. Aim for stiff peaks, which usually takes 3-5 minutes. Stiff peaks mean the cream holds its shape well. This fluffy cream adds lightness to the cheesecake.
Assembling the Cheesecake Bars
Carefully fold the whipped cream into the cream cheese mixture. Make sure there are no streaks left. This gentle folding keeps the mixture airy. Now, pour the cheesecake filling over your chilled crust. Spread it evenly with a spatula. Smooth the top to make it nice. Finally, cover the pan with plastic wrap. Chill in the refrigerator for at least 4 hours, or overnight if you can wait. This time allows the bars to set properly.
Tips & Tricks
Achieving the Best Texture
To get the best texture in your Biscoff cheesecake bars, chilling is key. Chilling firms up the filling and makes it easier to slice. I suggest chilling the bars for at least four hours. For the best result, chill them overnight. This allows the flavors to blend well.
The filling should be smooth and creamy. It’s important to beat the cream cheese and sugar until there are no lumps. When you fold in the whipped cream, do it gently. This keeps the mixture light and airy. If you mix too hard, the filling can become dense.
Variations to Enhance the Recipe
You can play with this recipe by adding chocolate or caramel. Drizzle some melted chocolate on top before chilling. It adds a nice touch and extra flavor. You can also swirl in some caramel into the filling. This will create a marbled effect that looks great.
Another fun twist is to use different cookie bases. While Biscoff cookies are a classic choice, you can use graham crackers or Oreos. Each type of cookie gives a unique flavor and texture. Experiment to find your favorite!
Serving Suggestions
When it’s time to serve, slice the bars into small squares. A sharp knife works best for clean cuts. For a special touch, garnish each piece with Biscoff cookie crumbles. This adds a nice crunch and looks appealing.
Pairing drinks with these cheesecake bars can elevate your dessert experience. A glass of cold milk is always a good choice. For adults, consider a sweet dessert wine. Both options complement the rich flavors of the cheesecake well.
Storage Info
How to Store Leftovers
To keep your Biscoff cheesecake bars fresh, store them in the refrigerator. Place leftover bars in an airtight container. This helps prevent them from drying out. You can keep them in the fridge for up to five days. If you want to store them longer, consider freezing.
For freezing, wrap each bar in plastic wrap. Then, put them in a freezer-safe bag or container. This way, they won’t get freezer burn. You can freeze the bars for up to three months. Just remember to thaw them in the fridge before serving.
Shelf Life
In the refrigerator, these cheesecake bars last about five days. Make sure to check for any signs of spoilage. If you see mold or an off smell, it’s best to toss them.
When it comes to frozen bars, they stay good for about three months. After that, they may lose texture and flavor. Always trust your senses. If something seems off, don’t take a chance.
FAQs
Can I use different cookies for the crust?
Yes, you can! Some great options include:
– Graham crackers
– Oreos
– Digestive biscuits
– Shortbread cookies
Each cookie adds its own unique flavor. Just crush them the same way as Biscoff cookies. Adjust the butter amount if needed for different cookie types.
Is this recipe suitable for gluten-free diets?
Yes, this recipe can be made gluten-free. Use gluten-free cookies for the crust. Check the labels on your Biscoff spread and other ingredients to ensure they are gluten-free. This way, everyone can enjoy the bars!
How long do these bars take to set?
The bars need at least 4 hours to chill. For the best texture, chill them overnight. This allows the filling to firm up nicely. Patience is key for a perfect cheesecake bar!
Nutritional Information
Caloric Content
Each Biscoff cheesecake bar holds about 240 calories. This number may vary based on your exact ingredients and portion sizes. With 16 bars in total, you can enjoy a sweet treat while keeping track of your intake.
Nutritional Benefits
The key ingredients in these bars pack a punch.
– Biscoff cookies: These give a sweet, spiced flavor and are a source of carbs.
– Cream cheese: This adds creaminess and protein to the mix.
– Heavy whipping cream: This ingredient enhances richness and provides healthy fats.
However, keep in mind that these bars have a high sugar content from the powdered sugar and Biscoff spread. They are not dairy-free or low-sugar.
Serving Size
A recommended serving size is one bar. Cutting them into 16 squares helps with portion control. Enjoying one bar allows you to savor the flavors without overindulging.
This blog post provided a simple method to make delicious Biscoff cheesecake bars. We covered key ingredients, clear steps, and handy tips. Remember, chilling time is crucial for the best texture. Feel free to experiment with flavors or cookie bases to make this dessert your own. With a few easy adjustments, you can also cater to gluten-free diets. Enjoy every bite while sharing with friends, and don’t forget to store leftovers properly! I hope these tips help you create a delightful treat that impresses everyone.