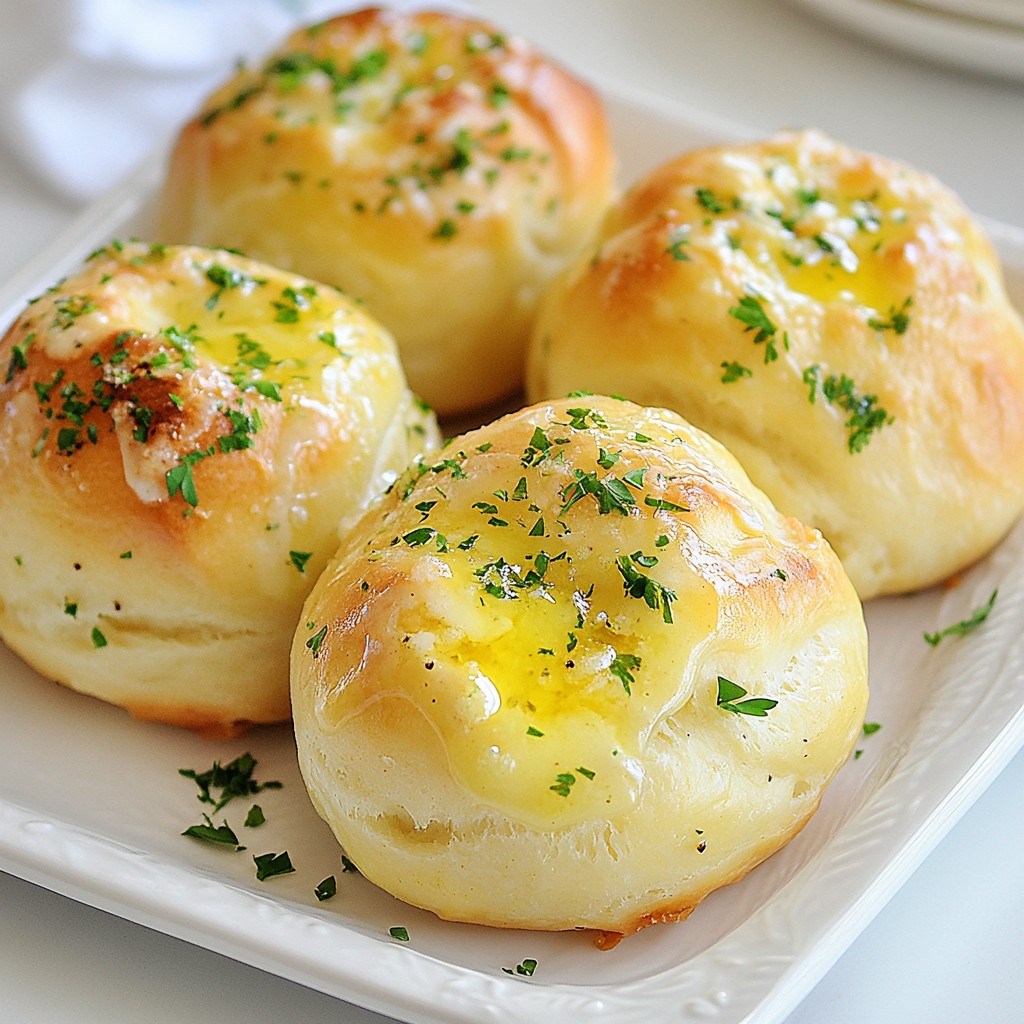
Are you ready to bake the fluffiest, most flavorful garlic herb dinner rolls? These rolls will impress anyone at your table and are perfect for any meal. With just a few simple ingredients and steps, you can create soft rolls filled with the savory goodness of garlic and herbs. In this post, I'll guide you through the process to make these tasty treats from scratch. Let's get started!
Why I Love This Recipe
- Delicious Flavor: The combination of garlic and herbs creates a mouthwatering aroma that fills your kitchen and makes these rolls irresistible.
- Easy to Make: This recipe is straightforward and perfect for bakers of all skill levels, making it a great choice for family gatherings.
- Perfectly Soft: These dinner rolls come out soft and fluffy every time, making them the ideal side for any meal.
- Customizable: You can easily adapt the herbs and add ingredients like cheese or olives for a unique twist!
Ingredients
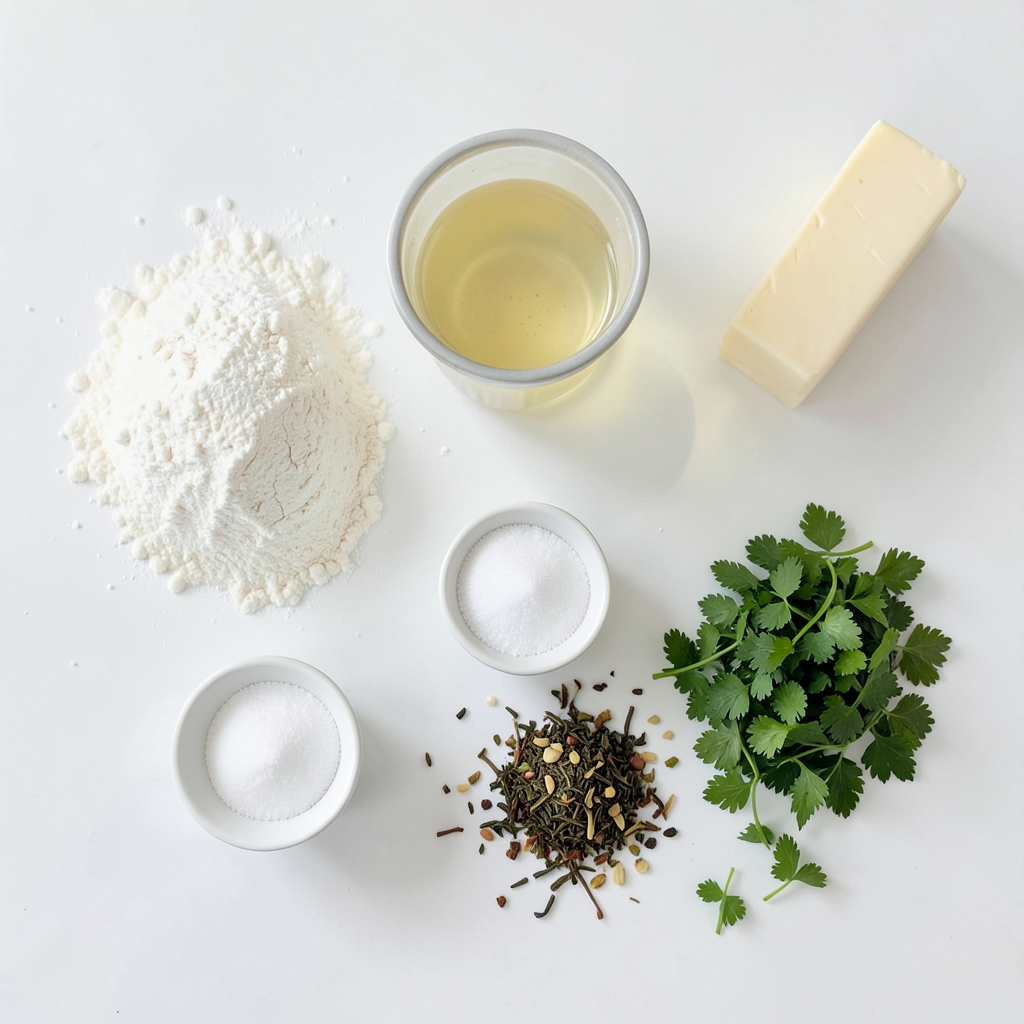
List of Required Ingredients
- 3 ½ cups all-purpose flour
- 1 packet (2 ¼ teaspoons) active dry yeast
- 1 cup warm water (110°F)
- 2 tablespoons sugar
- ½ teaspoon salt
- 4 tablespoons unsalted butter, melted
- 3 cloves garlic, minced
- 1 tablespoon dried Italian herbs (oregano, basil, thyme)
- 2 tablespoons fresh parsley, chopped (for garnish)
Gathering the right ingredients is key to making these garlic herb dinner rolls. I love using all-purpose flour because it creates a fluffy texture. Active dry yeast is essential for the rise, so don't skip it. Warm water activates the yeast. The sugar feeds the yeast, helping it work its magic.
Salt adds flavor, while unsalted butter gives a rich taste and soft texture. The garlic and Italian herbs bring a burst of flavor to the rolls. Fresh parsley not only adds taste but makes the rolls look beautiful. Each ingredient plays a part in creating the perfect fluffy and flavorful treat.
Step-by-Step Instructions
Preparing the Yeast Mixture
To start, grab a small bowl. Combine 1 cup of warm water, 2 tablespoons of sugar, and 1 packet of active dry yeast. Mix these together gently. Let it sit for about 5-10 minutes. You want to see it turn frothy. This shows the yeast is alive and ready to work.
Mixing the Dough
In a large bowl, add 2 cups of all-purpose flour and ½ teaspoon of salt. Mix these two well. Next, slowly pour in the yeast mixture and 4 tablespoons of melted unsalted butter. Stir until it just comes together. Gradually mix in the remaining 1 ½ cups of flour. If the dough feels too sticky, add a bit more flour, one tablespoon at a time.
Kneading and Rising
Now it's time to knead. Take the dough out and place it on a floured surface. Knead it for about 8-10 minutes until it feels smooth and elastic. While kneading, take 3 cloves of minced garlic and 1 tablespoon of dried Italian herbs. Add half of this mix into the dough. Knead again until it's evenly mixed in.
Next, place your dough in a lightly greased bowl. Cover it with a damp cloth. Let it rise in a warm spot for about 1 hour or until it doubles in size. This step is key for fluffy rolls.
Tips & Tricks
Ensuring Fluffy Rolls
To make your rolls fluffy, knead the dough well. Kneading helps develop gluten. This gluten gives structure to the rolls. Knead the dough for about 8-10 minutes. It should feel smooth and elastic. If it feels sticky, add flour a little at a time.
For the best rise, place the dough in a warm spot. A slightly warm oven works well. Cover the dough with a damp cloth to keep it moist. Let it rise until it doubles in size. This can take about 1 hour. After punching the dough down, let it rise again for 30 minutes. This second rise is key for fluffiness.
Flavor Enhancements
To boost flavor, add more herbs or spices to the dough. You can mix in fresh rosemary or thyme. These add a nice touch. Try using garlic powder for an extra punch too.
For better taste, switch up the butter or oils. You can use garlic-infused olive oil instead of butter. This adds a rich flavor. If you want to try something different, use herb butter. It adds depth and makes the rolls even better.
Pro Tips
- Perfecting the Dough: Knead the dough until it is smooth and elastic; this helps develop gluten, resulting in better texture.
- Warm Rising Spot: For optimal rising, place the dough in a slightly warm area, such as an oven turned off but with the light on; this creates a cozy environment for yeast activation.
- Flavor Boost: For an extra punch of flavor, consider adding fresh herbs or a pinch of cheese to the dough before the second rise.
- Storage Tips: Store leftover rolls in an airtight container at room temperature; reheat in the oven to restore their softness.
Variations
Cheese-Stuffed Garlic Herb Rolls
- Ingredients to consider: You can add mozzarella or cheddar cheese to the rolls. Use about 1 ounce of cheese for each roll. Place the cheese in the center of the dough before rolling it into a ball.
- Adjusting baking time: Bake these rolls for 25-30 minutes. Check that they are golden brown and the cheese is melted.
Whole Wheat Garlic Herb Rolls
- Substituting flour: Use 2 cups of whole wheat flour and 1 ½ cups of all-purpose flour. This will give the rolls a nutty flavor.
- Flavor adjustments: You may need to add a bit more water. Whole wheat flour absorbs more liquid. Start with an extra 2 tablespoons of water if the dough feels dry.
Herb-Infused Butter Topping
- Recipe for infused butter: Melt 4 tablespoons of butter. Stir in 1 tablespoon of minced garlic and 1 teaspoon of mixed dried herbs. Let it sit for 10 minutes to enhance the flavor.
- Other topping options: You can use olive oil instead of butter. Drizzle it on top right before baking. Sprinkle with sea salt for added flavor.
Storage Info
How to Store Leftover Rolls
To keep your garlic herb dinner rolls fresh, store them at room temperature. Place them in an airtight container or a resealable bag. This helps keep them soft. If you have extra rolls, you can put them in the fridge. But remember, this may dry them out a bit. To avoid this, wrap each roll in plastic wrap before placing them in the fridge.
To keep rolls fresh:
- Use an airtight container.
- Wrap in plastic wrap for the fridge.
- Avoid storing in direct sunlight.
Reheating Instructions
When you want to enjoy your leftover rolls, reheating is key. The best way is to use an oven. Preheat your oven to 350°F (175°C). Place the rolls on a baking sheet. Heat them for about 10 minutes. This warms them nicely and brings back their soft texture.
You can also use a microwave. Place a roll on a plate and cover it with a damp paper towel. Heat for about 15-20 seconds. This helps keep the roll moist.
To restore freshness:
- Use the oven for best results.
- Cover in the microwave to keep moisture.
- Add a pat of butter before reheating for extra flavor.
FAQs
Can I make garlic herb dinner rolls ahead of time?
Yes, you can make these rolls ahead. After mixing the dough, let it rise once. Then, punch it down and shape it into rolls. Place the rolls in a greased dish. Cover and refrigerate them overnight. The next day, let them rise for about 30 minutes before baking. This method saves time and still gives you fresh rolls.
What if my dough doesn’t rise?
If your dough doesn’t rise, check a few things. First, make sure your yeast is fresh. Old yeast may not work. Second, the water should be warm, but not hot. If it’s too hot, it can kill the yeast. Lastly, place the dough in a warm spot. A cozy kitchen or near a heater works well. If it still doesn’t rise, you may need to start over.
Can I freeze garlic herb dinner rolls?
Yes, you can freeze these rolls! To freeze, bake them first. Let them cool completely. Place them in a zip-top bag or airtight container. Remove as much air as you can. They can last in the freezer for about three months.
- How to freeze and thaw correctly:
1. To thaw, take the rolls out of the freezer.
2. Leave them at room temperature for about 1-2 hours.
3. For a warm touch, you can reheat them in the oven for a few minutes. This way, they stay soft and delicious.
Making garlic herb dinner rolls at home is simple and rewarding. We covered all the steps from selecting ingredients to storing rolls properly. You learned how to activate yeast, knead dough, and enhance flavors. Variations can make each batch exciting, like cheese-stuffed rolls or whole wheat options. Remember, proper storage keeps your rolls fresh longer. Enjoy your baking journey and savor each bite of your delicious creations. Happy baking!