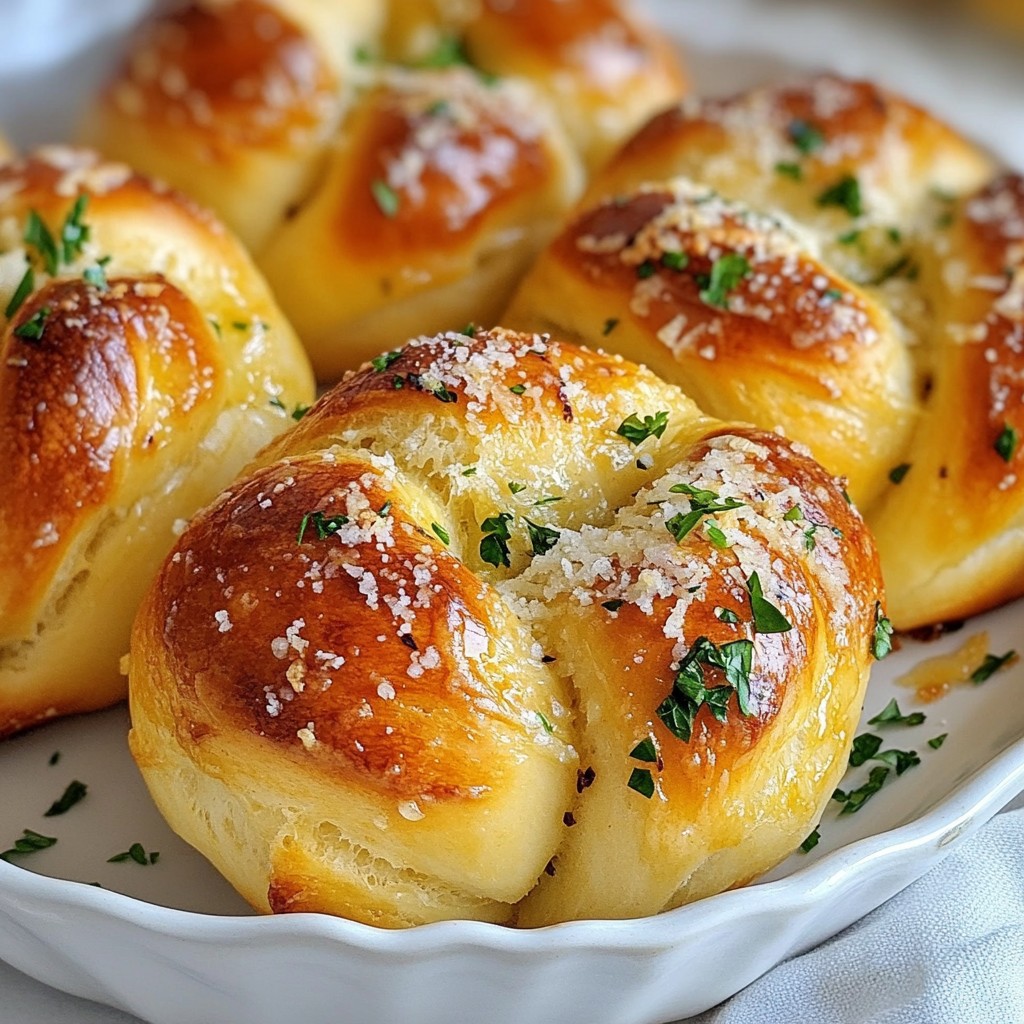
Craving a warm, buttery treat? Let me show you how to make Garlic Parmesan Knotted Rolls. These rolls are simple, tasty, and perfect for any meal. With just a few common ingredients and easy steps, you’ll whip up a batch that will impress your family and friends. Whether you're an experienced cook or a kitchen newbie, everyone can enjoy this delightful recipe. Let’s dive into these delicious rolls!
Why I Love This Recipe
- Soft and Fluffy: These rolls are incredibly soft and fluffy, making them the perfect addition to any meal or just as a snack on their own.
- Garlic Lover's Dream: If you love garlic, these rolls are packed with it, giving every bite a burst of flavor that's hard to resist.
- Cheesy Goodness: The generous sprinkle of Parmesan cheese on top adds a delightful cheesy flavor that complements the garlic beautifully.
- Fun to Make: Tying the dough into knots is not only fun but also a great way to get the kids involved in the kitchen!
Ingredients
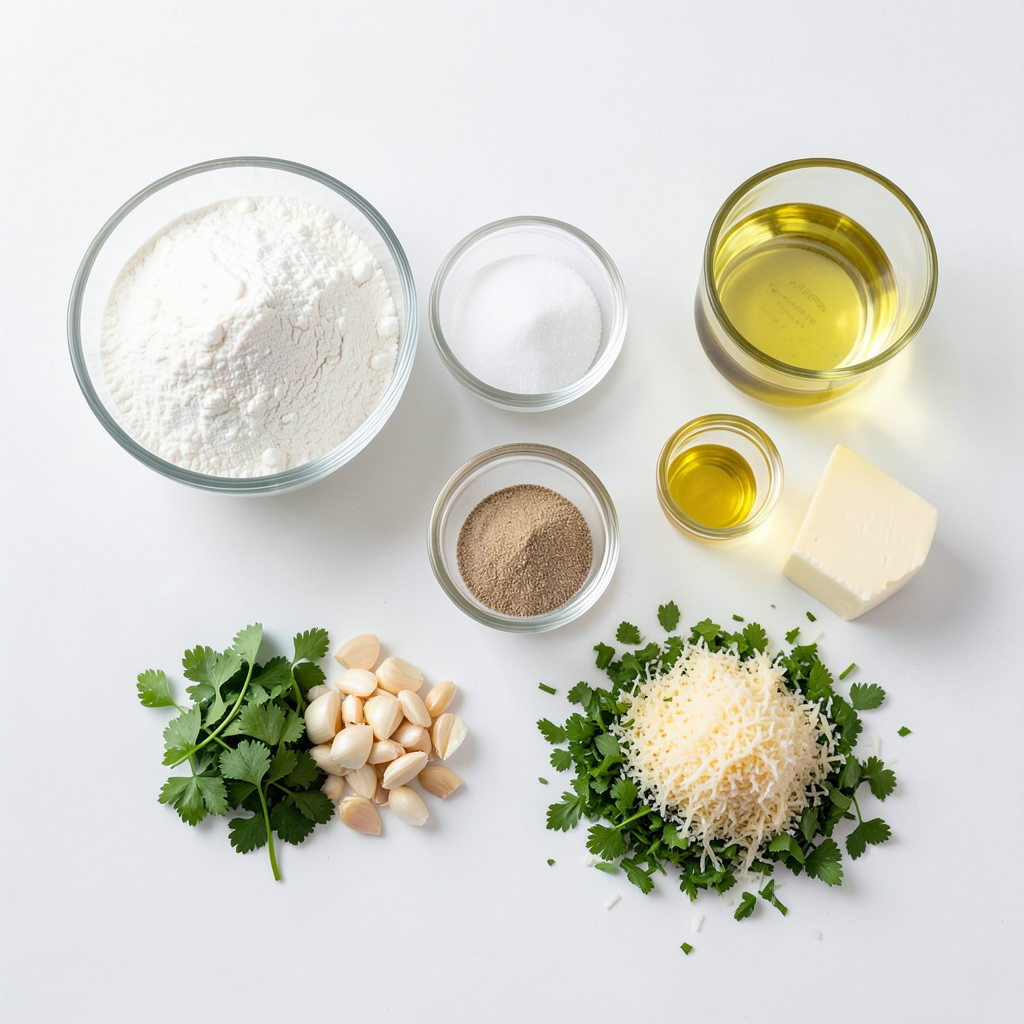
To make Garlic Parmesan Knotted Rolls, you need to gather some key ingredients. Each one plays a vital role in creating those tasty rolls. Here’s what you will need:
- 4 cups all-purpose flour
- 1 packet (2 ¼ teaspoons) instant yeast
- 1 teaspoon sugar
- 1 ½ teaspoons salt
- 1 ½ cups warm water (110°F)
- 1/4 cup olive oil
- 4 tablespoons unsalted butter, melted
- 4 cloves garlic, minced
- 1 cup grated Parmesan cheese
- 2 tablespoons fresh parsley, chopped (for garnish)
Each item adds flavor and texture. The flour gives the rolls structure, while the yeast helps them rise. Sugar feeds the yeast, making the dough light and fluffy. Salt enhances all the flavors. Warm water activates the yeast, and olive oil adds richness.
Melted butter with garlic creates a savory topping. Grated Parmesan cheese adds that sharp, creamy flavor we love. Finally, fresh parsley adds a nice touch of color and freshness.
These ingredients work together to create a delicious treat. Gather them, and you are ready to make something special!
Step-by-Step Instructions
Preparing the Dough
1. Mixing dry ingredients: Start by taking a large bowl. Add 4 cups of all-purpose flour, 1 packet of instant yeast, 1 teaspoon of sugar, and 1 ½ teaspoons of salt. Stir these dry ingredients until well combined. This blend is key for a great base.
2. Adding wet ingredients: Next, slowly pour in 1 ½ cups of warm water and ¼ cup of olive oil. The water should be about 110°F. Use a wooden spoon to mix until you form a shaggy dough. This is an exciting step, as the dough starts to take shape!
3. Kneading process: Transfer your dough to a lightly floured surface. Knead it for about 5 to 7 minutes. You want the dough to be smooth and elastic when you’re done. This process helps develop gluten, which gives your rolls a nice texture.
Allowing the Dough to Rise
1. Rising time and temperature tips: Place the kneaded dough in a greased bowl. Cover it with a kitchen towel. Let it rise in a warm spot for 1 hour. The dough should double in size. If your kitchen is cool, you can turn on the oven for a minute, then turn it off. Place the dough inside for a warm rise.
Shaping the Rolls
1. Dividing the dough: Once the dough has risen, punch it down to remove air. Divide it into 12 equal pieces. Each piece will become a yummy roll.
2. Forming knots: Roll each piece into a rope, about 10 inches long. Take the rope and tie it into a knot. Tuck the ends underneath to make it look neat. This step is fun and makes the rolls unique!
Baking the Rolls
1. Preparing the baking sheet: Preheat your oven to 375°F (190°C). Line a baking sheet with parchment paper. This will help prevent sticking and make cleanup easy.
2. Applying garlic butter and cheese: In a small bowl, mix 4 tablespoons of melted unsalted butter and 4 cloves of minced garlic. Brush this mixture generously over each knot. Next, sprinkle grated Parmesan cheese on top of the knots. This adds flavor and a nice crust.
3. Baking time and temperature: Place the rolls in the oven. Bake them for 15 to 20 minutes until they turn golden brown. When they are done, brush them again with any leftover garlic butter. Finally, sprinkle chopped fresh parsley on top for a pop of color.
Tips & Tricks
Achieving Perfect Texture
To get the best texture for your Garlic Parmesan Knotted Rolls, kneading is key. Use your hands to knead the dough for about 5 to 7 minutes. Press down, fold, and turn the dough until it feels smooth and elastic. This helps develop the gluten, which gives the rolls their chewy texture.
For rising, place your dough in a warm spot. The ideal temperature is around 75°F to 80°F. Cover the bowl with a kitchen towel to keep it warm. Let it rise until it doubles in size, which usually takes about an hour. If your kitchen is cool, try turning on the oven for a minute, then turn it off and place the dough inside.
Flavor Enhancements
You can boost the flavor of your rolls by adding herbs. Consider mixing in dried oregano, thyme, or rosemary into the dough. These herbs pair well with garlic and Parmesan. You can also sprinkle some Italian seasoning on top for an extra kick.
If you want to switch up the cheese, try using mozzarella or cheddar. Mixing different cheeses can create a unique taste. Just remember, stronger cheeses will change the flavor profile, so choose according to your taste.
Serving Suggestions
These rolls pair perfectly with soups and salads. Serve them warm with a bowl of marinara sauce for dipping. You can also use them to soak up sauces from your favorite pasta dishes.
For a beautiful presentation, place the rolls in a rustic basket lined with a cloth. Garnish with chopped parsley for a pop of color. This not only looks nice but also adds fresh flavor.
Pro Tips
- Kneading Technique: Ensure your dough is smooth and elastic by kneading thoroughly; this develops gluten, giving your rolls a perfect texture.
- Rising Time: For best results, allow the dough to rise in a warm, draft-free area; this promotes even fermentation and a fluffy texture.
- Garlic Butter Application: Brush the garlic butter on the knots both before and after baking for an intense garlic flavor and a beautiful glaze.
- Cheese Variety: Experiment with different cheeses like mozzarella or Asiago for a unique twist on flavor; each cheese adds its distinct character to the rolls.
Variations
Herb-Infused Rolls
You can change the flavor of your rolls by adding herbs. Try using fresh basil, rosemary, or thyme. These herbs bring great taste to the dough. If you want a garlic Parmesan twist, you can swap out the Parmesan. Use Asiago or Romano cheese instead for a new flavor.
Cheese Alternatives
Feeling adventurous? You can use different types of cheese. Mozzarella gives a nice stretch, while feta adds a salty kick. If you prefer vegan options, try a plant-based cheese made from nuts or soy. These options melt well and still taste great.
Dietary Modifications
You can also make these rolls fit special diets. For a gluten-free version, use a gluten-free flour blend. Make sure it has xanthan gum in it to help with texture. If you want low-carb rolls, consider using almond flour or coconut flour. These options lower the carbs while keeping the flavor.
Storage Info
Storing Leftovers
To keep your garlic parmesan knotted rolls fresh, store them in an airtight container. You can also wrap them in plastic wrap. This method keeps moisture in and air out, which helps maintain their soft texture. Place the rolls in a cool, dry spot in your kitchen. They will stay fresh for about 2 to 3 days. If you want to keep them longer, consider freezing.
Reheating Tips
To reheat your rolls without losing quality, use the oven. Preheat it to 350°F (175°C). Place the rolls on a baking sheet lined with parchment paper. Heat for about 5 to 10 minutes. This warms them up and keeps them soft. If you're in a hurry, the microwave works too, but it may make them a bit chewy. Heat each roll for about 10 to 15 seconds.
Freezing Instructions
You can freeze your rolls before or after baking. If you freeze them before baking, shape the knots and place them on a baking sheet. Freeze until solid, then transfer to a freezer bag. When you’re ready to bake, let them thaw overnight in the fridge. Bake as usual, adding a few extra minutes if needed.
If you freeze them after baking, let them cool first. Wrap each roll in plastic wrap, then place them in a freezer bag. To thaw, leave them at room temperature for a few hours. Reheat in the oven as mentioned earlier. This way, you always have a tasty treat ready to enjoy!
FAQs
Can I make the dough ahead of time?
Yes, you can make the dough ahead of time. After kneading, place the dough in a greased bowl. Cover it with plastic wrap or a kitchen towel. Store it in the fridge for up to 24 hours. When you're ready, let the dough come to room temperature before shaping. This makes it easier to work with.
How do I know when the rolls are done?
You can tell the rolls are done by their color. They should be golden brown on top. Tap the bottom of a roll; it should sound hollow. An internal temperature of 190°F confirms they are baked through. Take care not to overbake them, as this can make them dry.
Can I use active dry yeast instead of instant yeast?
Yes, you can use active dry yeast. However, you need to activate it first. Mix it with warm water and sugar, then wait until it bubbles, about 5-10 minutes. Once activated, mix it into the dough. The rising time may take a little longer than with instant yeast.
What can I substitute for Parmesan cheese?
If you don’t have Parmesan, use Grana Padano or Pecorino Romano. Both give a nice flavor. For a dairy-free option, use nutritional yeast. It adds a cheesy taste without the dairy. You can also try feta cheese for a unique twist.
How long will the rolls stay fresh?
The rolls stay fresh for about 2-3 days at room temperature. Keep them in an airtight container. You can also freeze them for up to 3 months. Just let them cool before wrapping them well in plastic. Reheat them in the oven for a warm treat.
To recap, we covered how to make delicious rolls using simple ingredients like flour, yeast, and garlic. You learned to prepare, rise, shape, and bake these rolls to perfection. I also shared tips to enhance flavor and ways to modify the recipe for dietary needs.
These rolls can bring warmth to your meals. Enjoy experimenting with various ingredients and serving ideas. With the right techniques, you’ll have soft and tasty rolls every time. Happy baking!