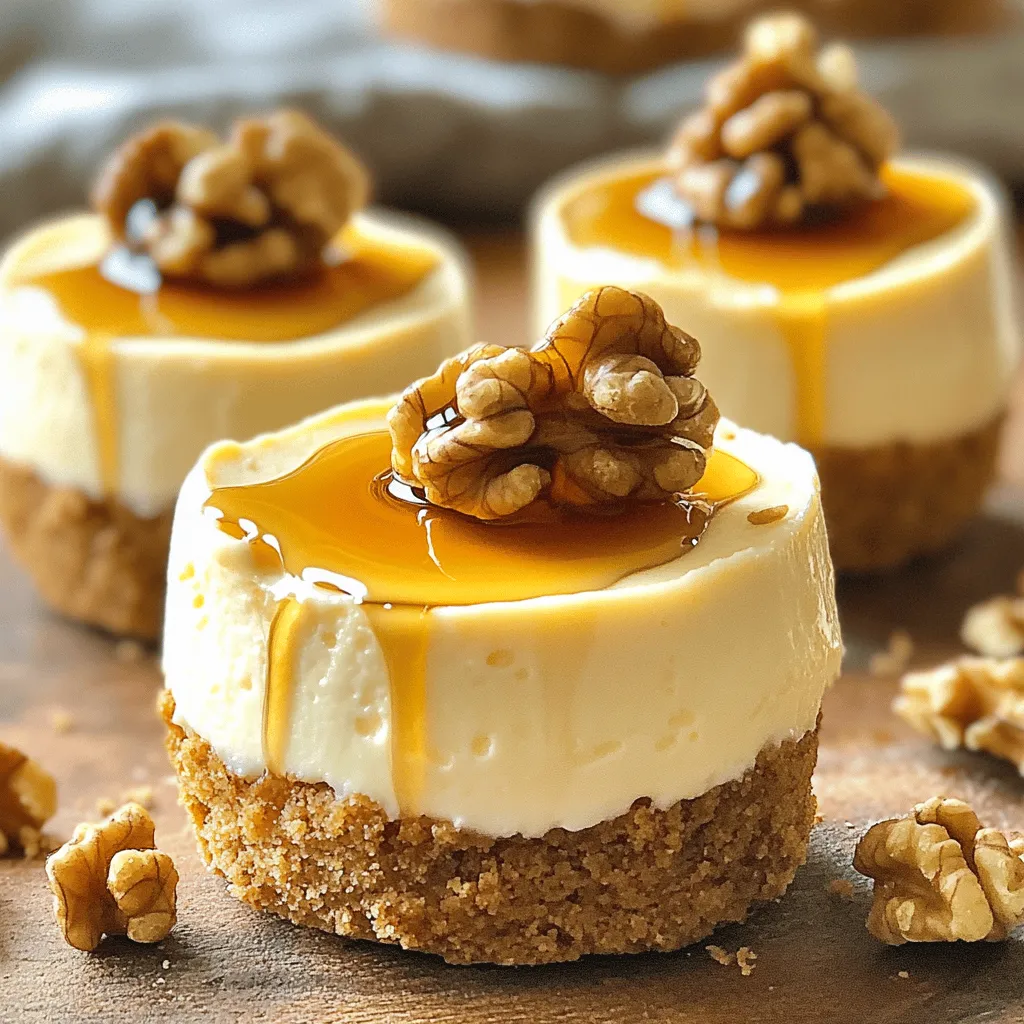
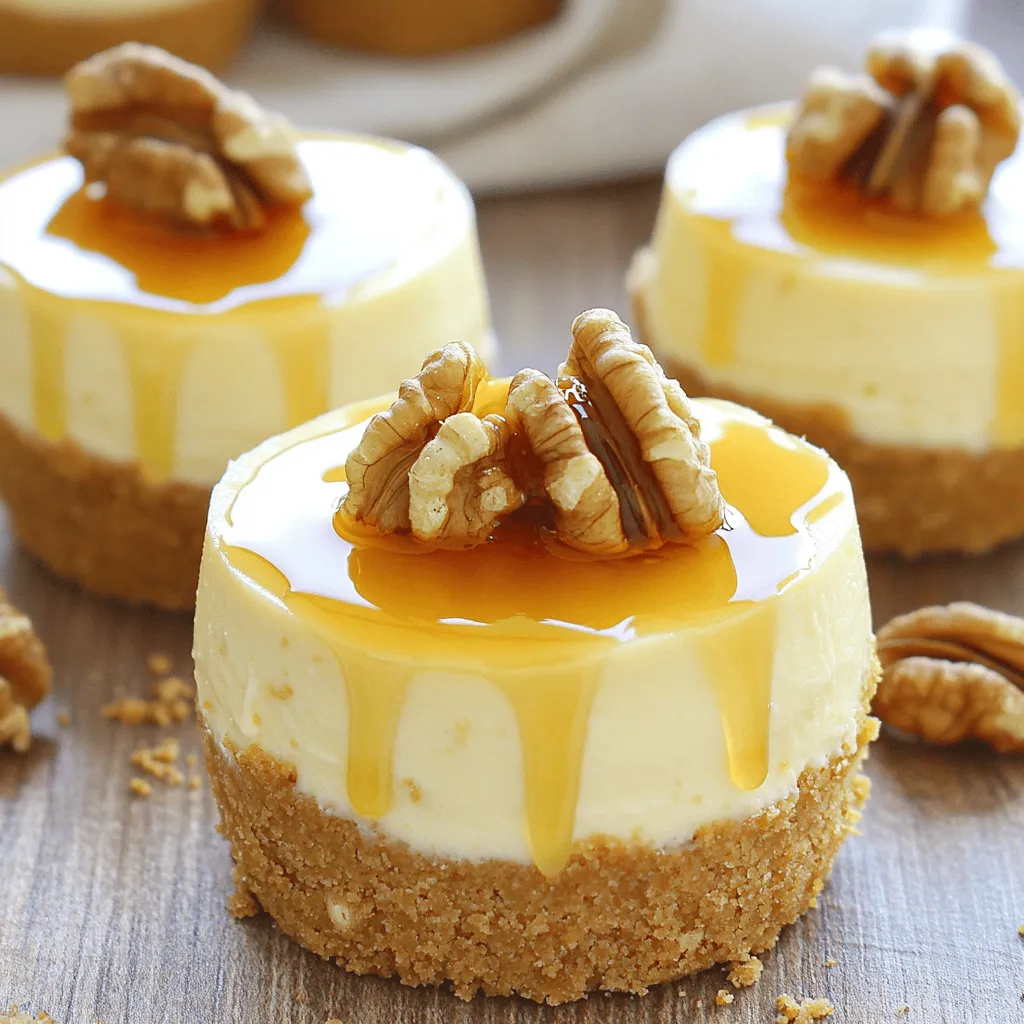
Looking for a simple yet delicious dessert? These Maple Walnut Cheesecake Cups are your answer! With no baking required, you can whip up these creamy treats in minutes. They’re perfect for a family gathering or a cozy night in. Join me as we dive into this easy recipe that will surely impress your guests. Let’s get started on creating your new favorite dessert!
Ingredients
List of Ingredients
To make these Maple Walnut Cheesecake Cups, gather the following:
– 8 oz cream cheese, softened
– 1 cup heavy whipping cream
– ½ cup powdered sugar
– ¼ cup pure maple syrup
– 1 tsp vanilla extract
– 1 cup walnuts, chopped
– 1 cup graham cracker crumbs
– 4 tbsp unsalted butter, melted
– Extra maple syrup for drizzling
– A pinch of salt
Measuring Tips for Ingredients
When measuring your ingredients, here are some tips:
– Use a kitchen scale for precise measurements, especially for cream cheese.
– For powdered sugar, spoon it into the measuring cup and level it off with a knife.
– When measuring sticky items like maple syrup, spray the measuring cup with a bit of oil first. This will help it pour out easily.
– Chop walnuts evenly for better texture in each bite.
Ingredient Substitutions
If you need alternatives, here are some options:
– You can use Greek yogurt instead of cream cheese for a lighter option.
– Coconut cream can replace heavy whipping cream for a dairy-free version.
– If you do not have powdered sugar, you can blend regular sugar until fine.
– For a nut-free option, use sunflower seeds instead of walnuts.
– Honey or agave can replace maple syrup, but the flavor will change.
Step-by-Step Instructions
Preparation of the Crust
To start, grab a mixing bowl. Add the graham cracker crumbs, melted butter, and a pinch of salt. Mix them well until the crumbs feel moist. This step is key for a tasty base. Next, take your serving cups. Evenly divide the crumb mixture among them. Use the back of a spoon to press down gently. You want a solid base at the bottom of each cup.
Making the Cheesecake Filling
Now, let’s make the creamy filling. In a clean bowl, beat the softened cream cheese until smooth. I use an electric mixer for this part. Add in the powdered sugar, maple syrup, and vanilla extract. Mix until everything is well blended. In another bowl, whip the heavy cream until it forms stiff peaks. This makes the filling light and fluffy. Gently fold the whipped cream into the cream cheese mix. Be careful not to lose the airiness. Finally, fold in the chopped walnuts, ensuring they are evenly mixed.
Assembling the Cheesecake Cups
It’s time to layer! Spoon the cheesecake filling into each cup over the crust. Use a spatula to smooth the top if you’d like. Once filled, cover the cups and chill them in the fridge for at least two hours. This helps the cheesecake set and firm up. Just before serving, drizzle a little extra maple syrup on top. For a nice touch, add a whole walnut for garnish. Enjoy your delightful maple walnut cheesecake cups!
Tips & Tricks
Achieving the Perfect Creamy Texture
To get the best creamy texture, start with softened cream cheese. This helps it blend well. Use an electric mixer to beat the cream cheese until it’s smooth. Add the powdered sugar, maple syrup, and vanilla extract next. Mix until everything is well combined. For a fluffy texture, whip the heavy cream until stiff peaks form. Then, gently fold it into the cream cheese mixture. This keeps your cheesecake light and airy.
Chilling Tips for Best Results
Chilling is key for these cheesecake cups. After filling the cups, cover them and place them in the fridge. Let them chill for at least two hours. This allows the mixture to set and firm up nicely. If you can, chill them overnight for even better results. This gives the flavors time to meld together. Enjoy the wait; the end result is worth it!
Serving Suggestions
Serve your cheesecake cups with a drizzle of maple syrup on top. This adds a nice touch of sweetness. You can also garnish with whole walnuts for added crunch. If you want to get fancy, try adding a dollop of whipped cream. For a fun twist, serve them in clear cups. This way, everyone can see the lovely layers inside. Your guests will love both the look and the taste!
Variations
Different Flavor Add-ins
You can change the flavor of these cheesecake cups easily. Try adding a few tablespoons of cocoa powder for a rich chocolate taste. You can also mix in some lemon zest for a fresh kick. If you love peanut butter, fold in a bit of creamy peanut butter for a nutty twist. Each add-in can change the flavor without changing the base recipe.
Alternative Toppings
Toppings can enhance your cheesecake cups. Instead of just maple syrup, try caramel sauce for a sweet touch. Fresh berries like strawberries and blueberries add a nice color and flavor. You can sprinkle some crushed nuts on top for crunch. Try a dollop of whipped cream for extra creaminess. These toppings can make your dessert even more special.
Using Alternative Crusts
You don’t have to stick with graham cracker crumbs for the crust. For a gluten-free option, use crushed almond flour or coconut flour. If you want a different taste, try crushed oreos or shortbread cookies. You can even use crushed pretzels for a salty-sweet mix. Each crust brings its own flavor and texture to your cheesecake cups.
Storage Info
How to Store Cheesecake Cups
Store your maple walnut cheesecake cups in the fridge. Use an airtight container to keep them fresh. They stay good for up to five days. If you plan to eat them later, cover each cup tightly with plastic wrap. This keeps moisture in and prevents drying.
Freezing Instructions
You can freeze these cheesecake cups for a longer shelf life. First, let them chill in the fridge for two hours. Then, cover each cup with plastic wrap. After that, place them in a freezer-safe bag. They keep well for about two months. When ready to eat, thaw them in the fridge overnight.
Best Practices for Keeping Freshness
To keep your cheesecake cups fresh, avoid adding toppings until serving. If you want to add extra maple syrup or walnuts, do this just before you serve. This helps maintain the texture and flavor. Always check for any signs of spoilage before enjoying.
FAQs
Can I use low-fat cream cheese?
Yes, you can use low-fat cream cheese. It will still taste good. The texture may be less rich. You might need to adjust the sugar.
How long can I store the cheesecake cups?
You can store the cheesecake cups for up to four days. Keep them in the fridge. Use an airtight container to prevent drying.
Can I make this recipe ahead of time?
Yes, you can make these cups ahead. They taste better after chilling. Make them the day before, if possible.
What can I substitute for walnuts if there are allergies?
If you have nut allergies, use crushed graham crackers. You can also try seeds like sunflower seeds. They add a nice crunch without nuts.
Can I double the recipe for a larger batch?
Absolutely! Just double all the ingredients. Make sure you have larger cups. This way, you can serve more people.
This blog post covered all you need to make cheesecake cups. We discussed key ingredients, measurement tips, and substitutions. I shared step-by-step instructions for the crust and filling. You learned how to chill it for the best taste and texture. We also explored fun variations, storage tips, and answered common questions.
Now, it’s time for you to dive in and create your own cheesecake cups. Enjoy experimenting with flavors, and delight in the process.