Craving a dessert that’s both rich and creamy without any dairy? You’re in luck! This Vegan Chocolate Mousse is your answer. With just a few simple ingredients, you can whip up a delicious treat that everyone will love. In this post, I’ll guide you step-by-step through the process, share helpful tips, and suggest fun variations. Get ready to impress your taste buds and wow your friends with this amazing dessert!
Why I Love This Recipe
- Easy to Make: This vegan chocolate mousse comes together in just a few simple steps, making it perfect for both novice and experienced cooks.
- Decadent Flavor: The combination of dark chocolate and maple syrup creates a rich and indulgent dessert that's hard to resist.
- Healthier Alternative: Using silken tofu instead of cream makes this mousse a healthier option without sacrificing taste or texture.
- Customizable: You can easily adjust the sweetness or add different toppings, like nuts or coconut, to make it your own.
Ingredients
Main ingredients for vegan chocolate mousse
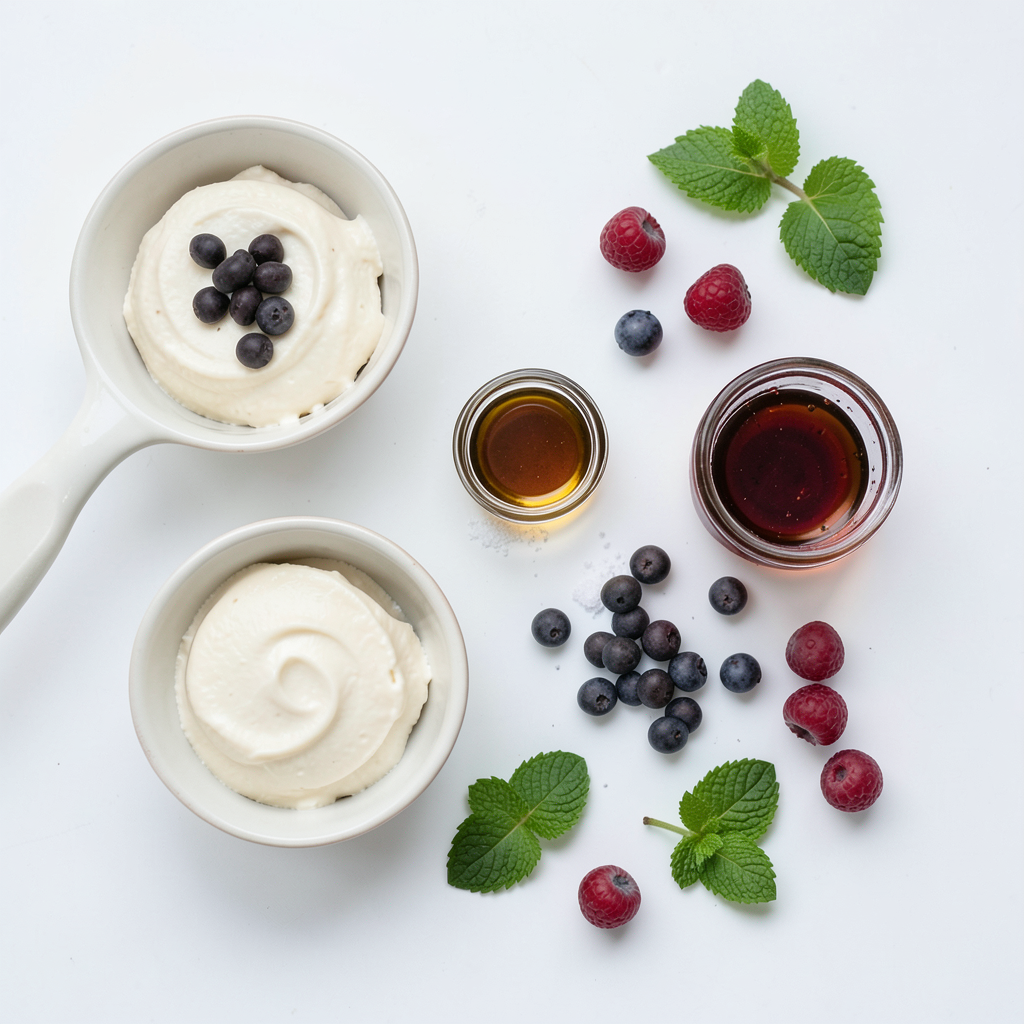
For a rich and creamy vegan chocolate mousse, you need:
- 1 cup silken tofu, drained
- 1/2 cup dark chocolate chips (dairy-free)
- 1/4 cup maple syrup
- 1 teaspoon vanilla extract
- A pinch of salt
These ingredients blend together to create a smooth and delicious treat. The silken tofu gives the mousse its creamy texture, while the dark chocolate adds a rich flavor. Maple syrup sweetens it just right.
Optional garnishes and toppings
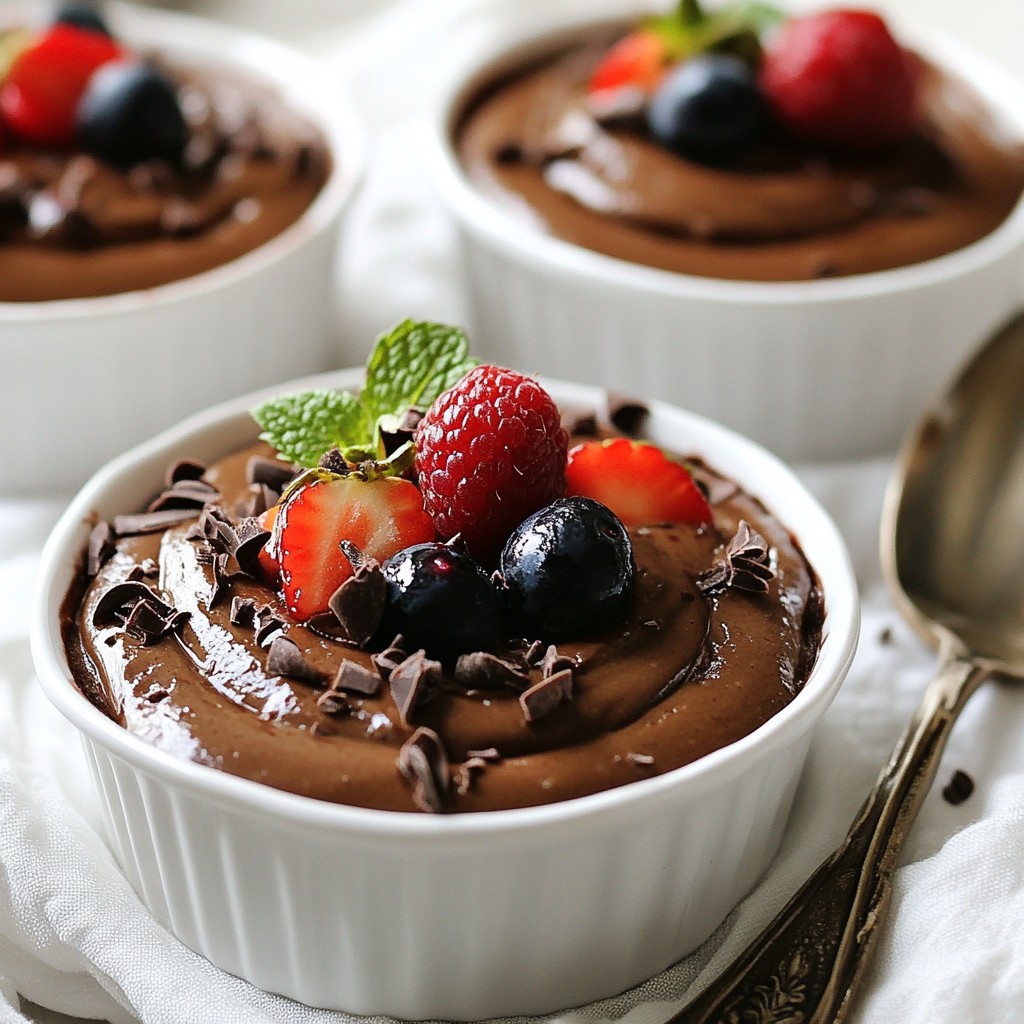
To make your mousse even more special, consider these garnishes:
- Fresh berries (like raspberries or strawberries)
- Mint leaves
These toppings not only look pretty but also add fresh flavors. You can mix and match your favorite fruits for a colorful presentation.
Ingredient substitutions for dietary preferences
If you have specific needs, you can swap out some ingredients. For example:
- Use agave syrup instead of maple syrup for a different sweetener.
- Substitute coconut cream for silken tofu to make a nut-free version.
These swaps keep the mousse delicious while catering to your diet. Feel free to experiment and find what you like best!
Step-by-Step Instructions
Melting the chocolate
To start, melt the dark chocolate chips. You can use a microwave-safe bowl. Microwave the chips in 30-second intervals. Stir after each interval until fully melted. If you prefer, use a double boiler. Just place the chips in a bowl over simmering water. Stir until melted and smooth.
Blending the mousse mixture
Next, grab your food processor. Add the silken tofu, melted chocolate, maple syrup, vanilla extract, and a pinch of salt. Blend on high speed. Make sure the mixture is smooth and creamy. Scrape down the sides of the bowl to mix well. Taste the mousse. If you want it sweeter, add more maple syrup. Blend again to mix.
Chilling and serving the mousse
Now, transfer the mousse into serving dishes or ramekins. Chill in the fridge for at least 30 minutes. For best results, chill it for a couple of hours. Just before serving, garnish with fresh berries and mint leaves. This adds a lovely touch and flavor. Enjoy your rich and creamy vegan chocolate mousse!
Tips & Tricks
How to achieve a creamy texture
To get a creamy texture, use silken tofu. It blends into a smooth base. Make sure to drain it well. This step removes extra water. It helps the mousse stay rich and thick. When you blend it with melted chocolate, it becomes velvety. Blend until there are no lumps. If needed, scrape down the sides of the bowl. This ensures an even mix.
Best chocolate brands for vegan mousse
I recommend using high-quality dark chocolate chips. Look for brands labeled dairy-free. Some great options are Enjoy Life and Hu Chocolate. These brands melt well and add rich flavor. Always check the label for vegan certification. This ensures you get the best taste in your mousse.
Adjusting sweetness and flavor intensity
Taste your mousse mixture after blending. If you want it sweeter, add more maple syrup. Blend again to mix it in fully. You can also add a splash of vanilla extract for depth. If you like dark chocolate, skip extra sweeteners. This lets the chocolate flavor shine through. Adjusting these elements makes the mousse your own.
Pro Tips
- Use high-quality chocolate: The flavor of your mousse will heavily depend on the chocolate you choose. Opt for a good quality dairy-free dark chocolate for the best results.
- Chill longer for a firmer texture: For a mousse that holds its shape better, chill it for several hours or even overnight. This allows the flavors to meld beautifully.
- Experiment with flavors: Try adding a splash of almond or orange extract for a unique twist. You can also fold in a tablespoon of cocoa powder for an even richer chocolate flavor.
- Presentation matters: Serve your mousse in elegant glassware and consider layering it with fresh fruits or crumbled cookies for added texture and a beautiful presentation.
Variations
Adding flavors like espresso or peppermint
You can make your vegan chocolate mousse even better by adding flavors. For a rich taste, try adding espresso. Just mix in one tablespoon of espresso powder when blending. This gives a deep, coffee flavor that pairs well with chocolate. If you love mint, add a few drops of peppermint extract. This adds a fresh, cool taste. Start with small amounts. You can always add more if needed.
Healthier alternatives using avocados
Want a healthier mousse? Use ripe avocados instead of silken tofu. The avocado gives a creamy texture and a boost of healthy fats. Just replace the tofu with one ripe avocado. Blend it with melted chocolate, maple syrup, and vanilla. You won’t taste the avocado, but you’ll get all the benefits. This is a great way to enjoy dessert while being healthy.
Serving suggestions for different occasions
When serving vegan chocolate mousse, think about the occasion. For a fancy dinner, use small glass cups. Layer the mousse with fresh berries for a beautiful look. For a casual get-together, use small bowls and let guests add their own toppings. You can offer nuts, coconut, or whipped coconut cream. This adds fun and variety to each serving. Enjoy the mousse at birthdays, holidays, or any time you want a treat!
Storage Info
How to store leftovers
To store leftover vegan chocolate mousse, place it in a clean, airtight container. Make sure the mousse is cool before sealing. This helps keep the mousse fresh. Store it in the fridge for up to three days. When you want to enjoy it again, just give it a quick stir.
Freezing tips for long-term storage
You can freeze vegan chocolate mousse if you want to keep it longer. To do this, scoop the mousse into individual portions. Use freezer-safe containers or silicone molds. Leave some space at the top for expansion. It can last in the freezer for up to two months. When ready to eat, thaw it in the fridge overnight.
Best containers for storage
The best containers for storing mousse are glass jars or plastic food containers. Glass jars keep the mousse fresh and are easy to clean. Make sure to use containers with tight seals. This helps prevent air from getting in and keeps the mousse creamy.
FAQs
Is vegan chocolate mousse healthy?
Yes, vegan chocolate mousse can be healthy. It uses silken tofu, which is high in protein and low in fat. The dark chocolate adds antioxidants, which are good for your heart. Maple syrup gives a natural sweetness without refined sugar. You can enjoy this dessert knowing it's better for your body.
Can I use other types of sweeteners?
Absolutely! You can use different sweeteners based on your taste. Agave syrup, coconut sugar, or stevia can work well. Just remember to adjust the amount. Each sweetener has a different level of sweetness. Taste as you go to find what you like best.
How long can vegan chocolate mousse last in the fridge?
Vegan chocolate mousse lasts about 3 to 5 days in the fridge. Store it in an airtight container to keep it fresh. This helps prevent any strange smells from other foods. If it looks or smells off, it's best to toss it. Enjoy your mousse while it's fresh for the best taste!
This blog post covered vegan chocolate mousse from start to finish. We explored main ingredients, step-by-step instructions, and tips for the perfect texture. You learned how to customize flavors and store leftovers effectively. Vegan chocolate mousse is not only tasty but flexible for diets. You can enjoy it in various ways, whether for a party or a quiet night at home. Now you have the tools to create a delicious, rich dessert. Happy cooking!